...
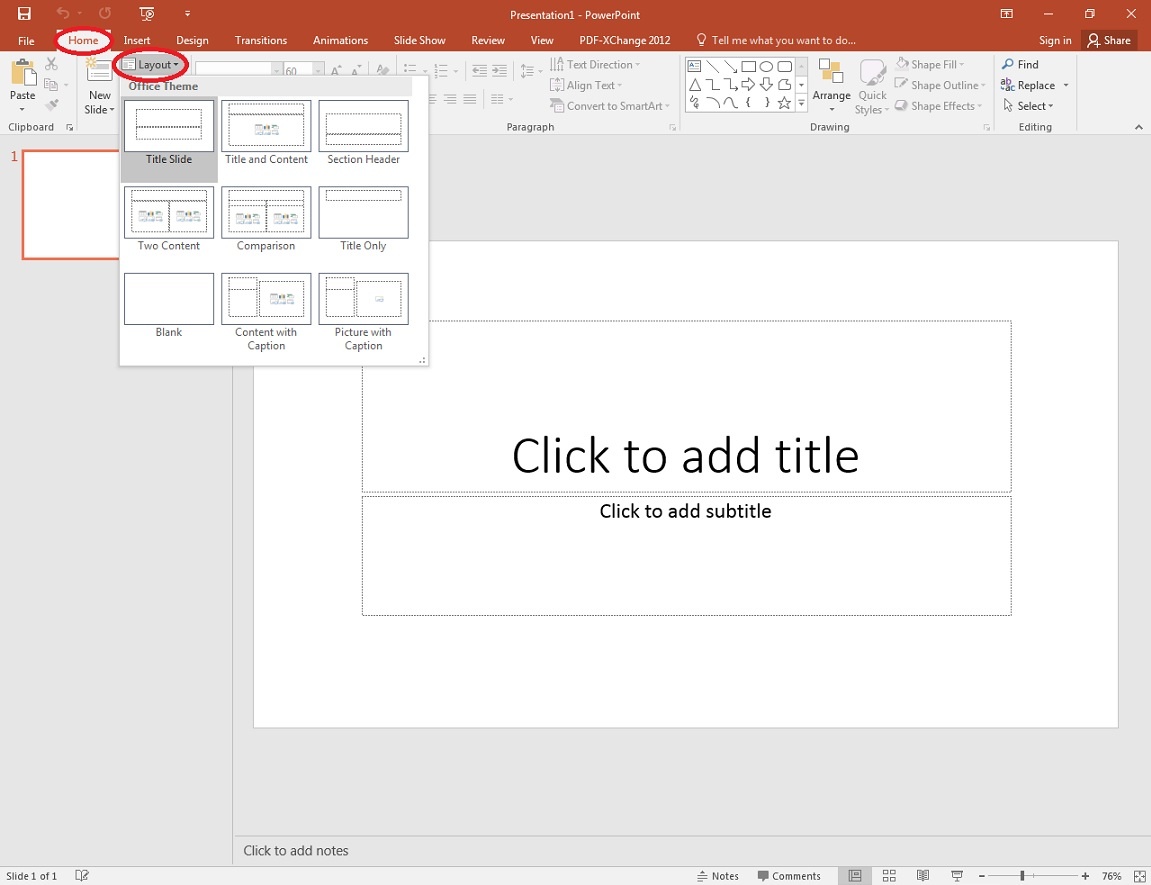
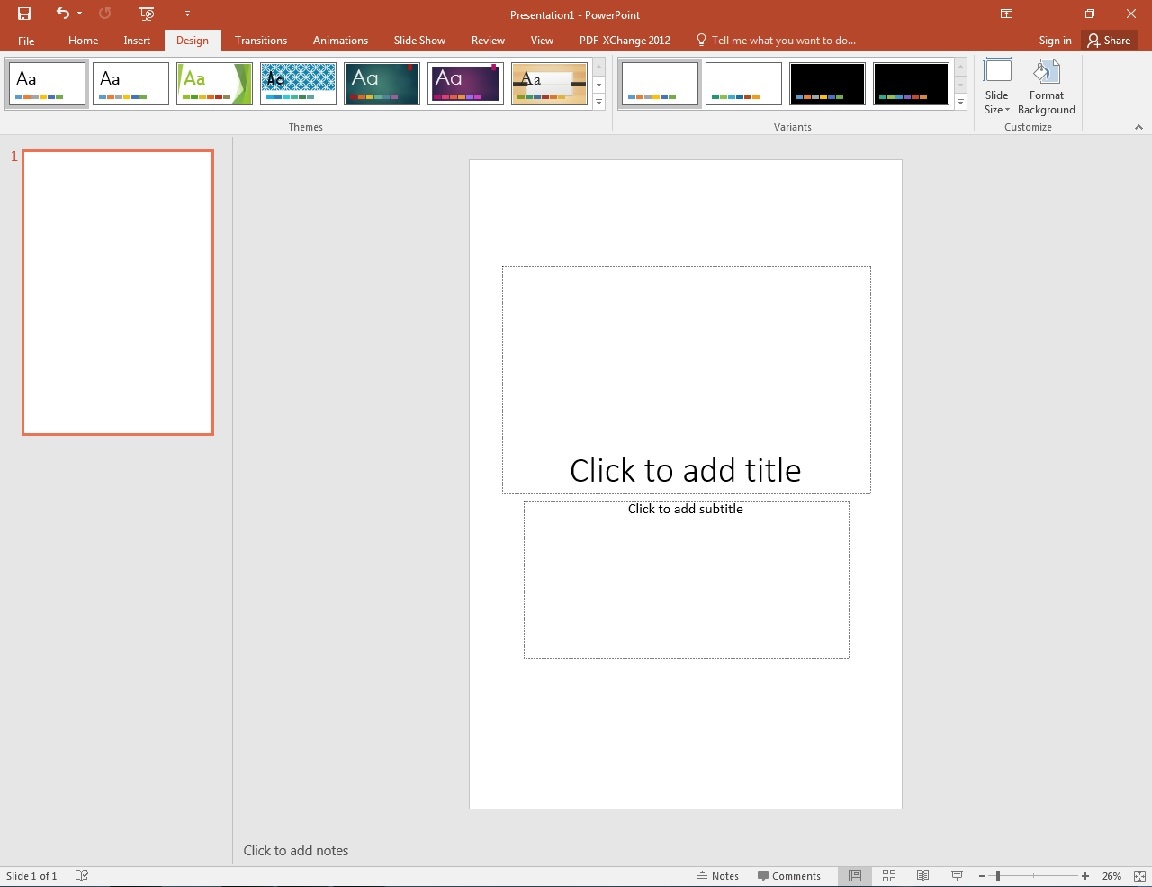
The default layout should appear with a title space and a text box.
We recommend using a slide layout with a title, as you should include a title on your poster.
If you need a different layout, click “Layout” and click on the format that works best with what you’re creating.

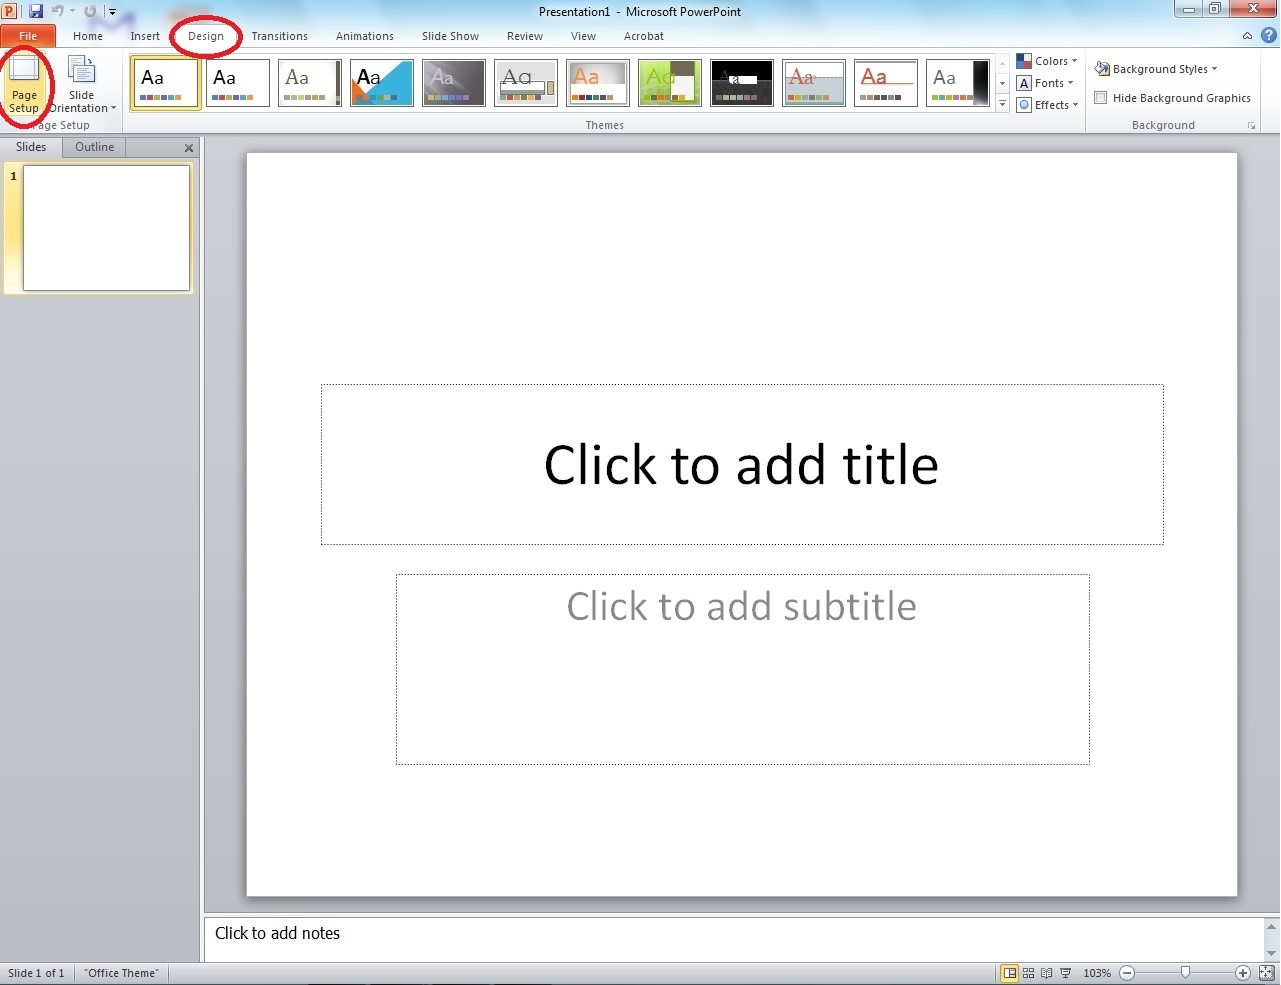
Change the size of your poster
Under the “Design” tab, click on “Page Setup” and then click on "Custom Slide Size".

Change “Slides sized for” to “Custom”.
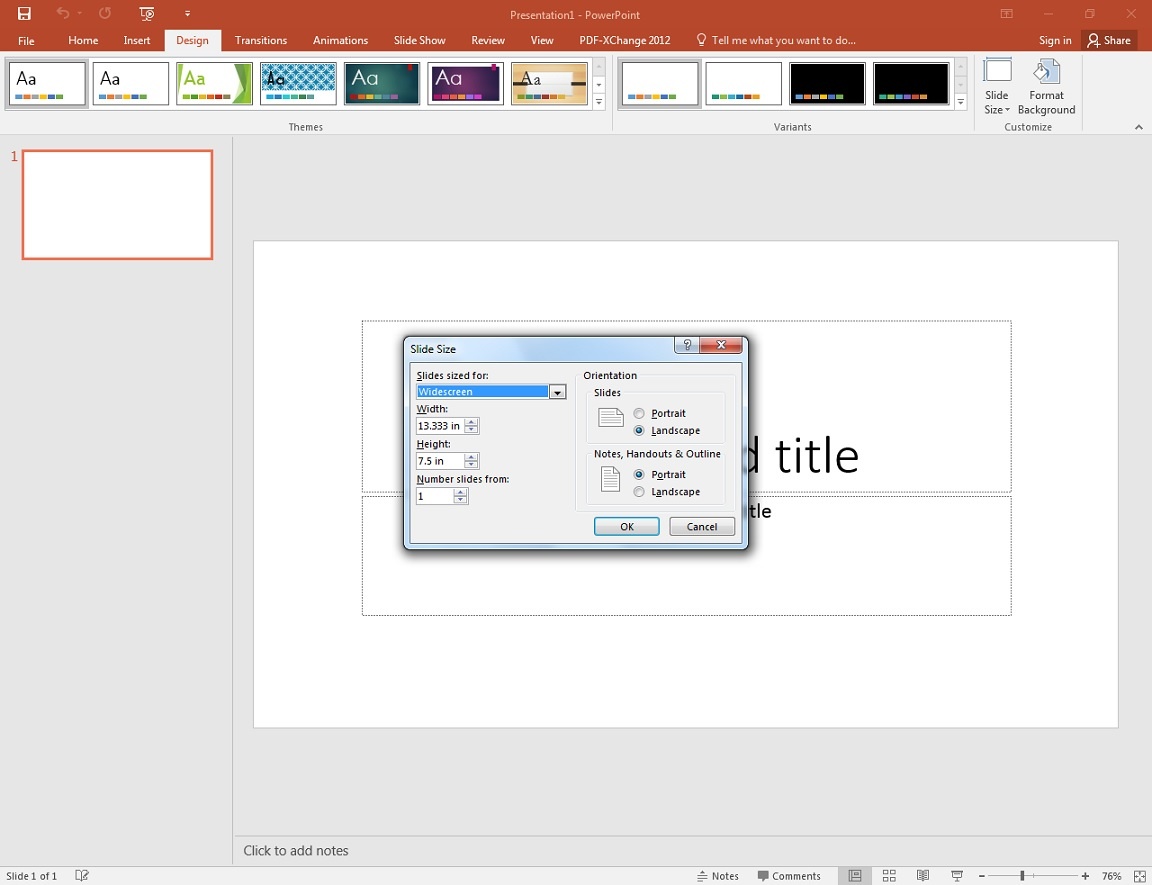

Change the dimensions as needed, and click "OK."
Make sure that one of the sides of your poster is less than 40” wide/tall, as the poster paper in the lab is 40” on the short side.
For posters that are to be mounted to foam board, the dimensions must be 20x30 (the ITC does not mount posters)
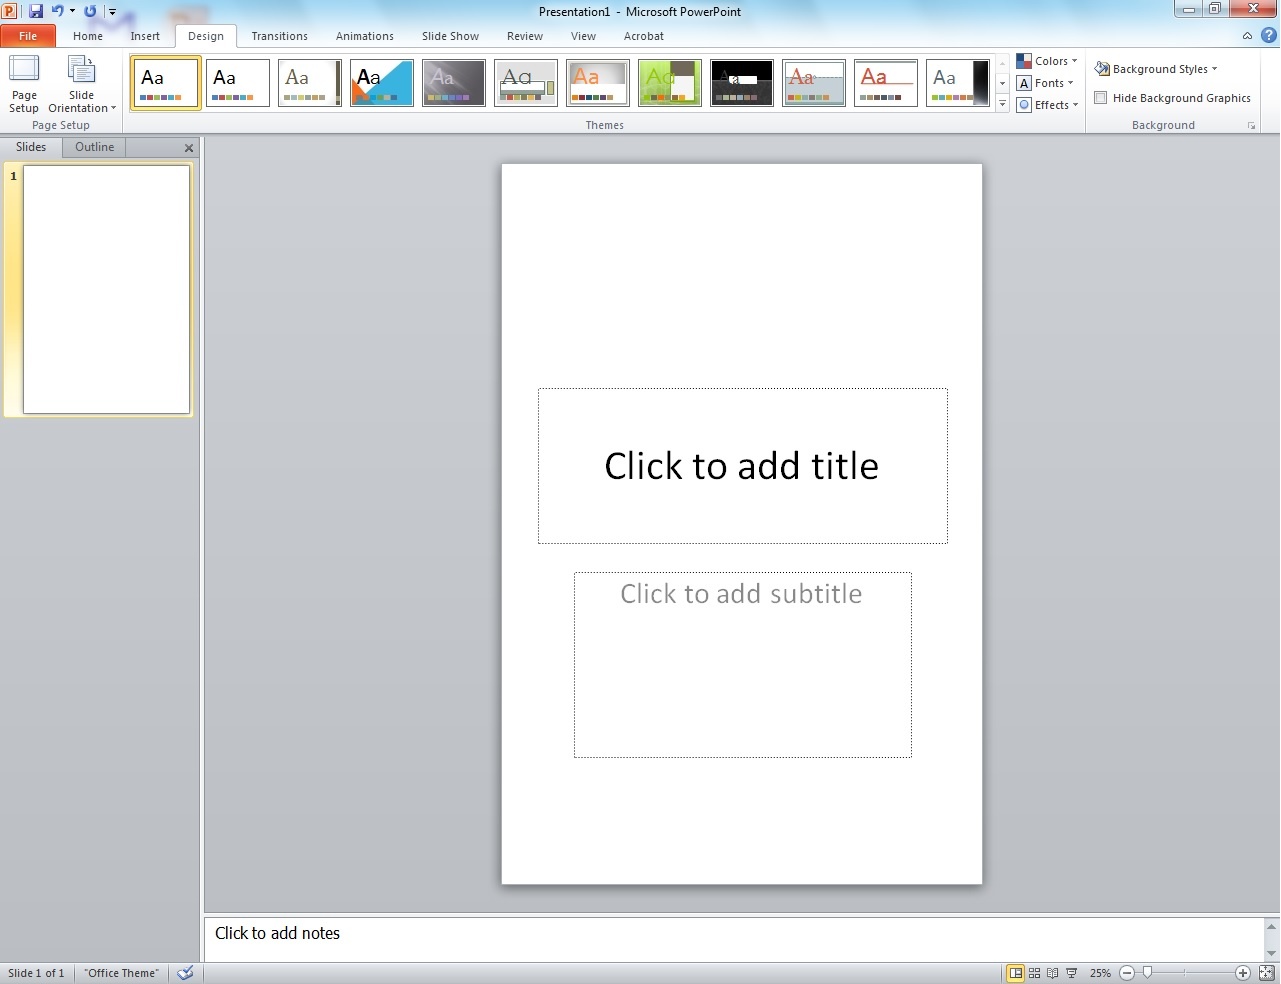
If you have resized the slide correctly, this is similar to what you will see (this example is sized to 20x30).
If you do not need the title or subtitle part of the slide, refer to step 1 where you can change the slide layout to "Blank". This can be done at any time.
...
To add an image, go to the “Insert” tab, click Picture Pictures and select your file. The image will appear on your document with handles. Use one of the corner handles to re-size it. (The corner handles will keep the same aspect ratio; the side handles will not.) Click and drag in the middle of the graphic to move it. You can do many other things to an image (including brightness, cropping, and resetting it to how it was originally brought in) under Picture Tools>Format.
It is best to plan ahead regarding your image size, to avoid distortion when adjusting the size for your poster.
...
If you intend to print a small copy of the poster (8.5"x11" or 8.5"x14"), you can select a background on the Design tab. You will see many Theme options initially. If you want a picture background, select “Background Styles” “Format Background” to the right of the Themes, then click “Format Background…”. Choose the radio button for “Picture or texture fill” and click the button that says File… Find the picture you want from your hard drive. You will probably want to fade or lighten the image prior to using it as background or you risk the picture competing with your text, but you can also adjust the Transparency using the slide in this Format Background dialog box.
...
In the Drawing section of the Home tab, click on "Shapes" and you will see options for ovals, boxes, lines, arrows, etc. When you have made one of these, you can adjust it (when it is selected) with the Shape Fill, Outline, and Effects options in that Drawing section, or using the Drawing Tools > Format tab.
...