| Table of Contents |
|---|
For further help using Time Machine, come to the Student Technology Education Labcontact the UT Service Center at 973-408-4357 or via https://help.drew.edu, or refer to the Mac 101: Time Machine web site.
...
| Warning |
|---|
If your Mac has the Drew image, do not use Migration Assistant or the Mac OXS Install DVD to restore your files from Time Machine. Saving system files in your Time Machine backup will cause conflicts with Drew networking software and prevent you from logging into your computer if you try to restore them. Use only the recommended settings listed below to configure back ups using Time Machine on your Drew-issued Mac. |
If you are using a Time Capsule to back up your Drew-issued Mac, please carefully read the instructions for configuring Time Capsule using Drew network resources.
Using Time Machine for the First Time
...
This will then prompt you to choose a location to back up your data. Select your external hard drive or flash drive and click the button that says Use Backup Disk.  .
. 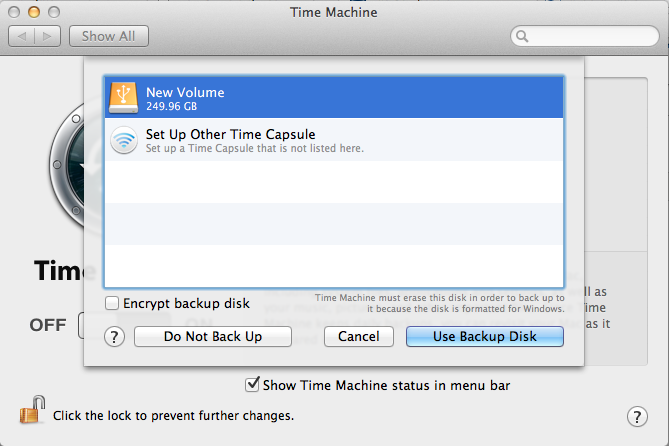
It may ask you to erase the disk in order to format it for storing Mac files. If it does, select Erase Disk only if you are positive that you don't need any of the files already on the external hard drive. 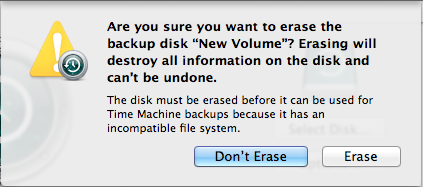
Next it will begin partitioning the external hard drive and start a countdown until the back up will begin. 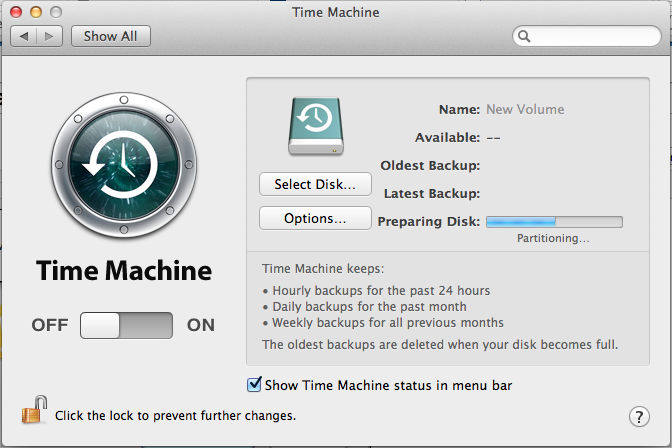
Once it starts backing up your files, it will look like this:
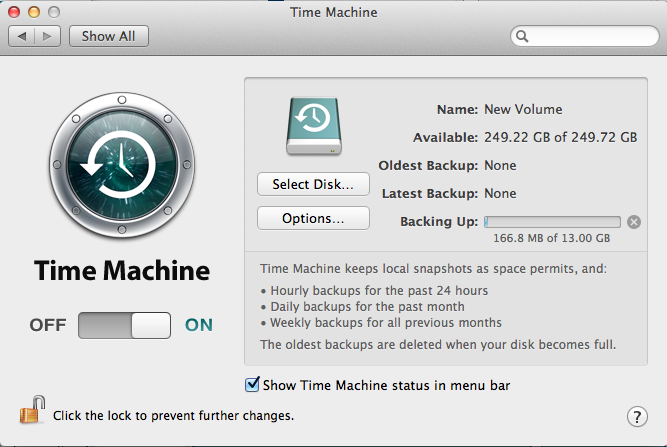
A pop up may appear that looks like this and will give you an estimate of how much time is left on the back up:
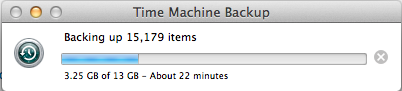
Once it is complete, the pop up will disappear and you can close Time Machine.
Keep Installation Media for 3rd Party Software on Hand
...