| Note |
|---|
These instructions were written with PowerPoint 2010. If you have a different version of PowerPoint, you should be able to find the same options in similar locations. Look to Microsoft Office support for more information regarding the version of PowerPoint you are running. |
Start PowerPoint
Go to “Layout” and click on the format that works best with what you’re creatingThe default layout should appear with a title space and a text box.
We recommend using a slide layout with a title, as you should include a title on your poster.
...
If you need a different layout, click “Layout” and click on the format that works best with what you’re creating.

Change the size of your poster
Under the “Design” tab, click on “Page Setup”.
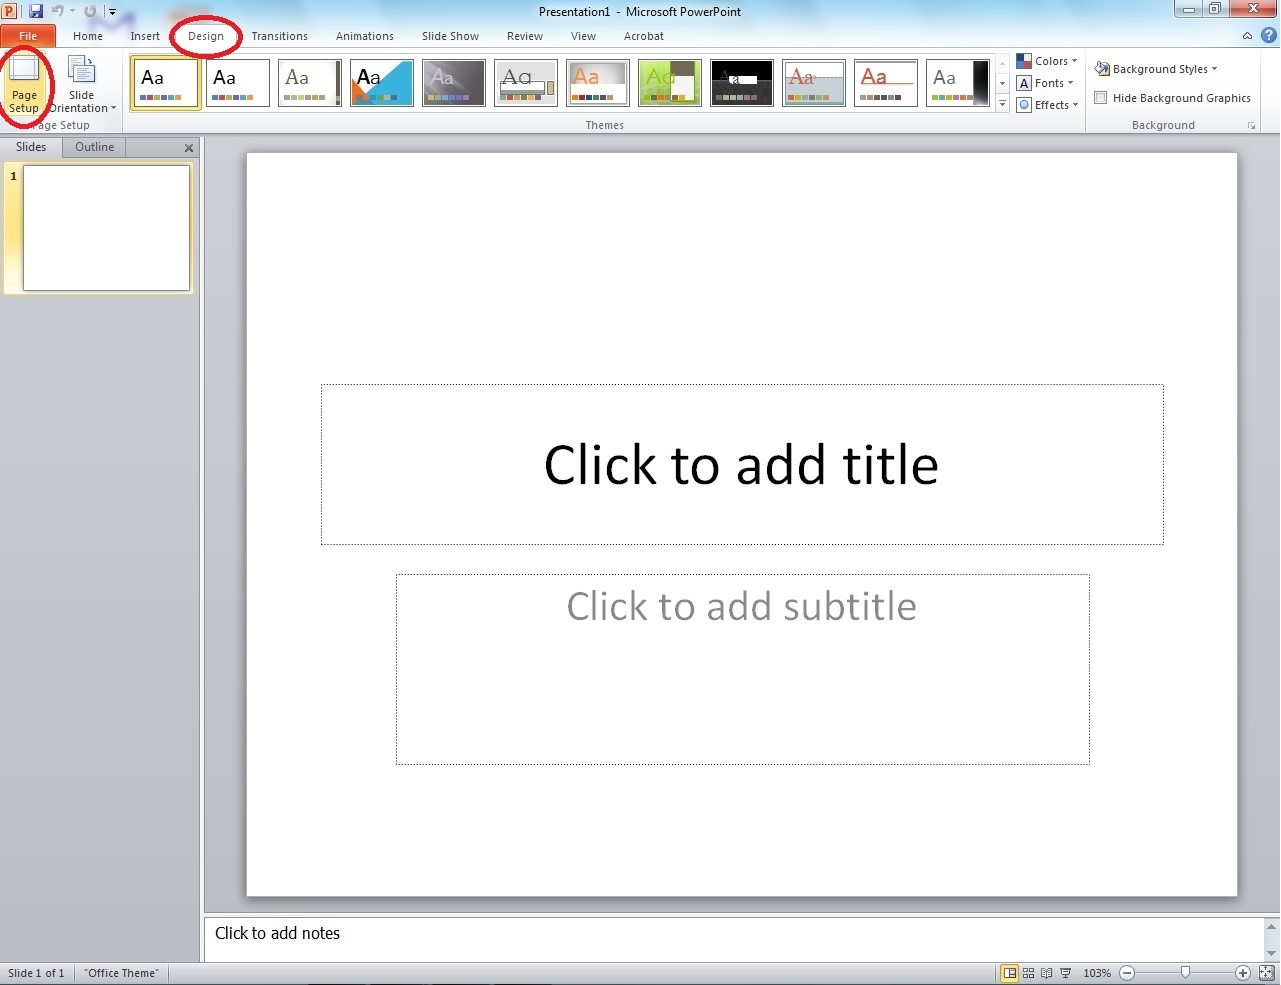
Change “Slides sized for” to “Custom”.

Change the dimensions as needed, and click "OK."
Make sure that one of the sides of your poster is less than 40” wide/tall, as the poster paper in the lab is 40” on the short side.
For posters that are to be mounted to foam board, the dimensions must be 20x30 (the ITC does not mount posters)
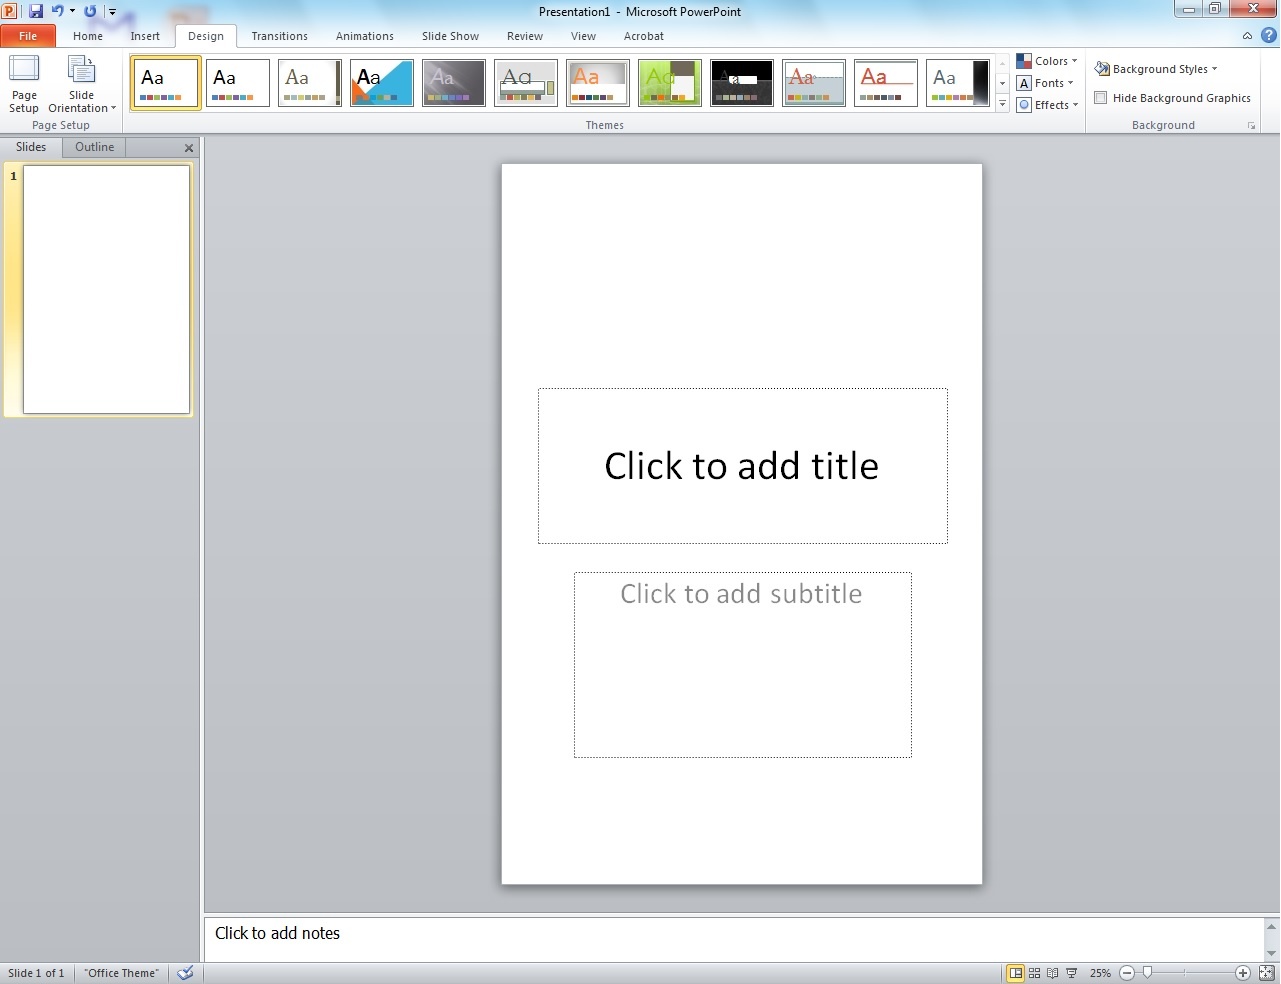
If you have resized the slide correctly, this is similar to what you will see (this example is sized to 20x30).
If you do not need the title or subtitle part of the slide, refer to step 1 where you can change the slide layout to "Blank". This can be done at any time.
Adding text
To add a text box, go to the “Insert” tab and click “Text Box”. Next, click or click-and-drag where you want to put in text. After, you should see the rectangular shape of the Text Box. The box grows automatically as you type. You can re-size it at any time by dragging one of the little squares or circles on the corners and sides of the box.
As in many programs, you can change the font and size by highlighting the text to be changed and then making the changes. A 100-point font is about an inch high. If you don't see the size you want in the selection list, you can enter it in by hand.
To move a Text Box, position your pointer over a part of the edge of the box that is not a mini circle or square. The pointer should become shaped like a plus sign with arrows. Click and drag the Text Box to the wanted position.
You can change the color of the text, the edge, and the fill of the text box by clicking on the box and selecting the “Format” tab.
...