...
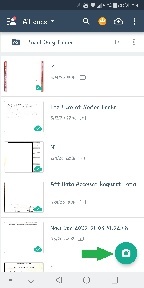
- Open the app.
- Press the camera to start a scan.
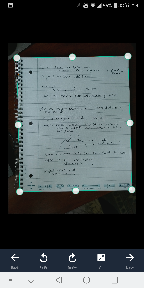
Point your phone’s camera at the document you want. Press the Camera button.
Drag the edges or corners to crop the photo if necessary, then press Next.
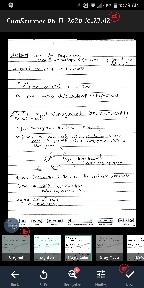
Adjust your scan
Rename file (optional, but recommended)
Use options at the bottom to get the best visual - Magic Color often works best for a white background page.
Click the Save checkmark.
You can add pages by clicking the Camera button again.
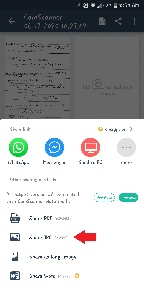
- Once finished, share your file using either the PDF icon or the share icon (to the left and right of the red a in image below).
- If you want a PDF, choose PDF and go to step 8.
- If you want a JPG, choose Share and go to step 9.
- If you want one of the other file formats, you will see the options (and any potentially associated costs) by choosing the Share icon.
- After you see your PDF (with watermark), click the Share button at the top right. Go to step 10.
- Choose Share JPG (JPGs will also have a watermark). Go to step 10.
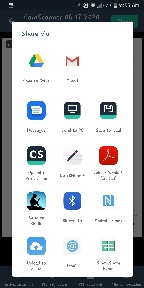
- Choose the service you wish to use for sharing. The options you have will depend on what other apps are installed on your device. You will probably opt to use Gmail or Save to Drive in order to share your file.
- We recommend sharing the file to your Drew Google Drive or Gmail account, then saving it to your computer and uploading it to Moodle, if that is the desired final destination.
- You've now scanned and shared your work! Congratulations!
