Screencastify is a tool for recording, editing, and sharing videos. It can be used in the Chrome browser. It lets you record your screen, with drawings and highlighting clicks, and an option to have yourself in the recording.
Drew University has, as of this writing, a site wide license.
Video Tutorials
- Getting Started with Screencastify
- Exporting/Downloading Screencastify Videos
- Uploading a Video file to Moodle (recorded with faculty in mind, but students can follow the tutorials above to record and export or download, then use the file picker or drag and drop options to submit a file as an assignment if requested)
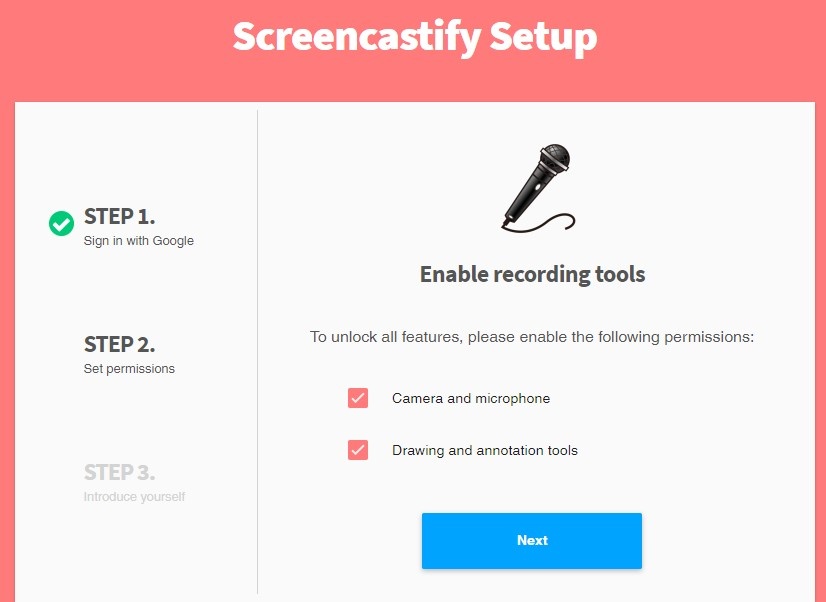
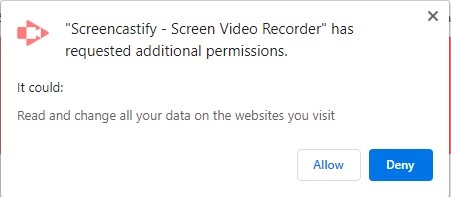
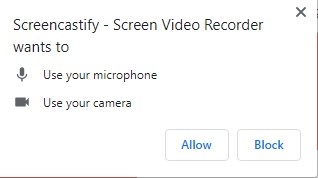
First Time Set Up
Using Screencastify
Screencastify provides instructions here on recording and editing videos.
If you do not see the icon in your browser, remember that you can hit the keyboard shortcut - Alt+Shift+S on Windows or Option+Shift+S on Mac - to open the extension.
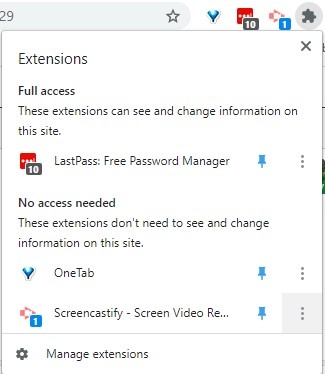
You can also pin the extension by clicking the extension puzzle piece icon to expand the extensions menu, then making sure the pushpin icon for Screencastify is blue.
Starting a recording
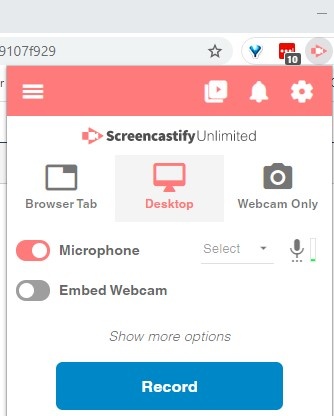
When you click on the Screencastify icon (or press the keyboard shortcut), you will see the following window pop up:
Note your choices along the top row for what you can record: a browser tab, your desktop, or just your webcam.
You can also turn your microphone on or off, and choose whether or not to have a small video of you in the corner of the screen during the recording.
Press Record when you are ready to begin.
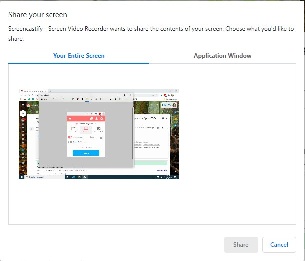
You may be prompted to choose what you want to share. If you will be navigating between browser tabs and a file such as a PowerPoint, choose the desktop option. If you are only going to be sharing a specific app, like PowerPoint, feel free to share only that Application Window. After you click on your selection, choose Share.
Ending a Recording
Click the icon and press the Stop button, or use the Alt+Shift+R (Option+Shift+R) keyboard shortcut. This same shortcut will start a recording!
After you end a recording, you will be taken to the video's details page. We highly recommend taking the tour the first time to see some of the things you can do with the video right away!
Change the name of your recording right away to make it easier to find the one you need. This is especially useful if you do multiple takes, or are interrupted before finishing your editing!
If you are using the auto-save to Google option, consider organizing the Google Drive folder. You can create subfolders for different classes, for example, and move the videos to the right folders from your Drive interface (or mobile phone, if you've have the app set up).
Reviewed June 14, 2023

