...
You can connect to the printer prior to coming to the Library Lobby, but do not send anything to the printer until you are in the Lobby. This ensures no one else is printing, and is especially important if you are printing something sensitive.
Remember that this is the University in the Forest: Be moderate in what you choose to print.
To print directly to the printer, you must be logged in to the drew1x wireless network. See https://uknow.drew.edu/confluence/x/ExvqAQ for more information.
Before and after using the printer, use the dedicated wipes next to the printer to wipe down any surfaces you touch.
Make sure you double check your print settings before sending the print job. (For instance, the paper size must be set to Letter for the job to print.)
WINDOWS INSTRUCTIONS
Download and install this printer driver.
NOTE: If you are not running Windows 10, you should go here to find and download the appropriate driver.
When prompted to "Select a MFP to install from the list", choose the 3rd option (name client-8-5-8.lib.drew.lan)

Open Printers & scanners from the Start menu.
Select “Add a printer or scanner”.

Scroll down to and click “The printer that I want isn’t listed”.

Select “Add a printer using a TCP/IP address or hostname” and click Next.

Type the following in the Hostname or IP Address field: libsharp.lib.drew.lan

The port name will fill in automatically.
Make sure “Query the printer and automatically select the driver to use” is selected. **
- Click Next.
- Note the name of the printer; you will have to choose this printer when printing.
- Click Next.
- Leave "Do not share this printer" selected and click Next.
- Click Finish.
** If you are prompted to select a driver or were not able to install the Sharp driver, the Microsoft PCL 6 Driver has also worked.
MAC INSTRUCTIONS
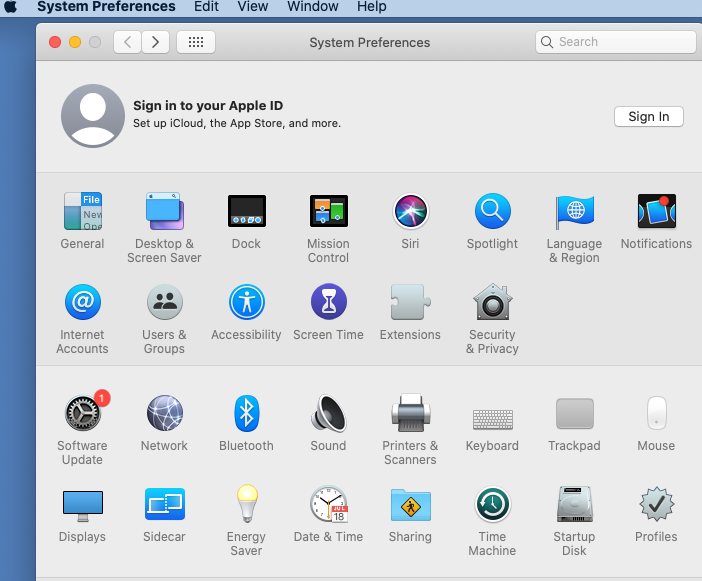
- Open up Apple System Preferences.
- Click Printers & Scanners.
- Click the + sign in the lower left of the Printers and Scanners window to add a printer.
- Select IP tab (near the top).
- Type the following in the Address line: libsharp.lib.drew.lan
- Change "Internet Printing Protocol - IPP" to "HP Jetdirect - Socket".
- Leave Queue blank.
- Note the name of the printer; you will have to choose this printer when printing.
Location can be left blank.
Generic PostScript Printer can remain.
Click Add.
- Click OK.


...