Versions Compared

Key

  • This line was added.
  • This line was removed.
  • Formatting was changed.


Excerpt

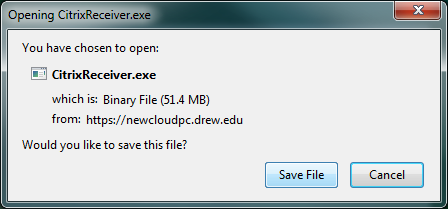
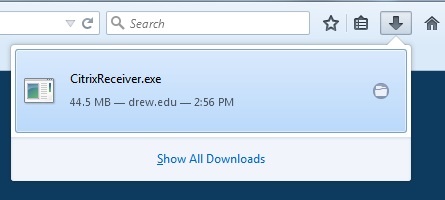
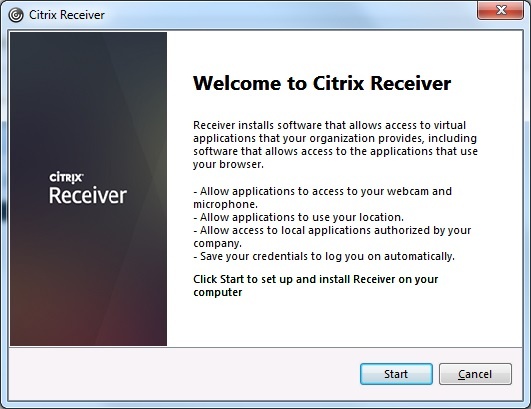
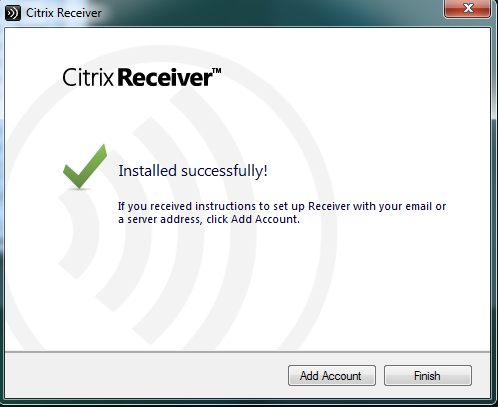
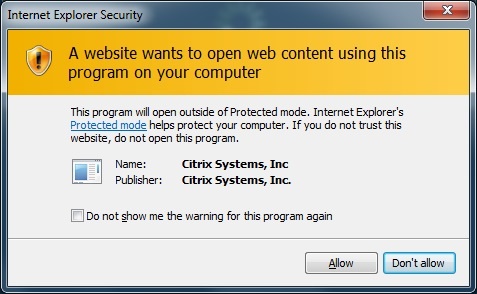
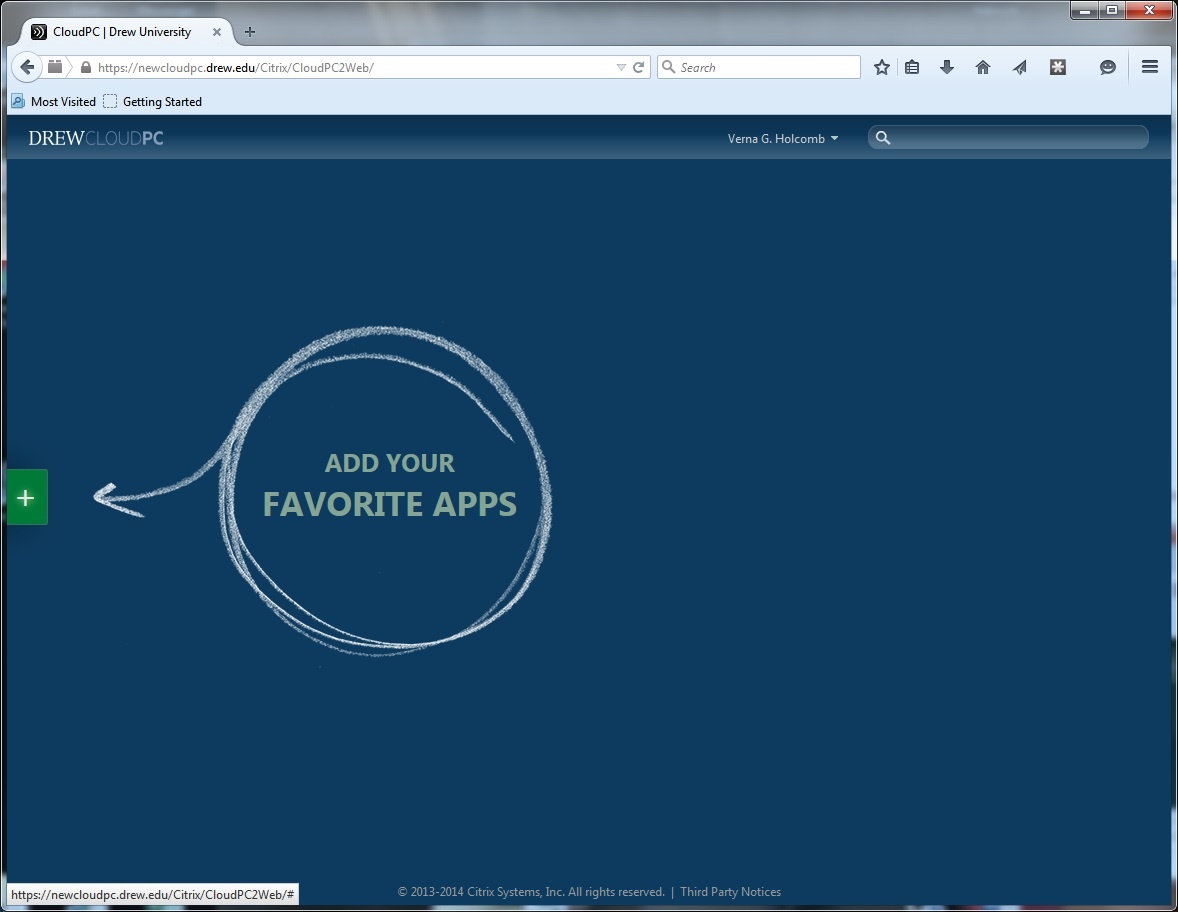
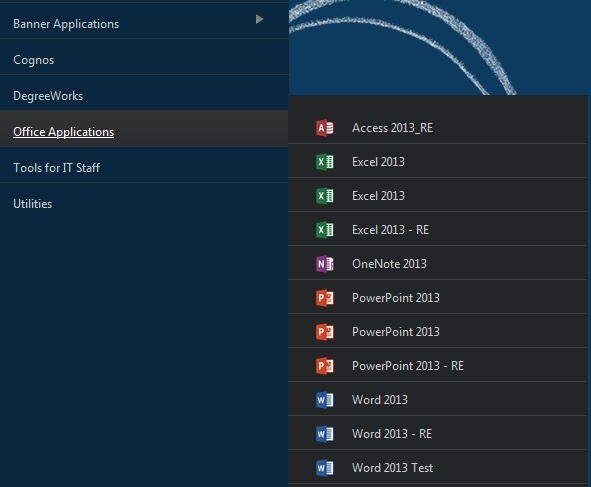
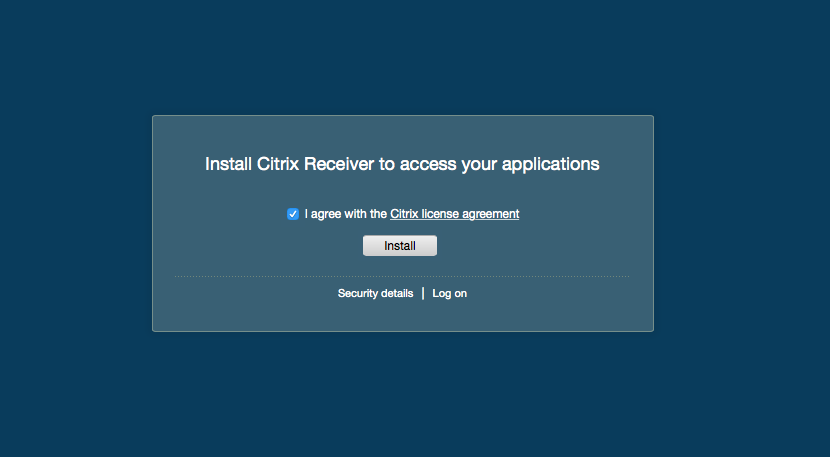
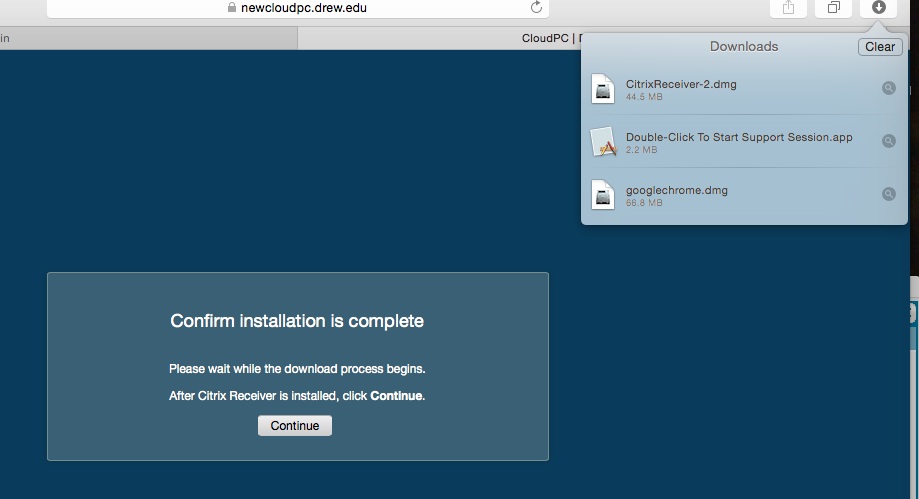
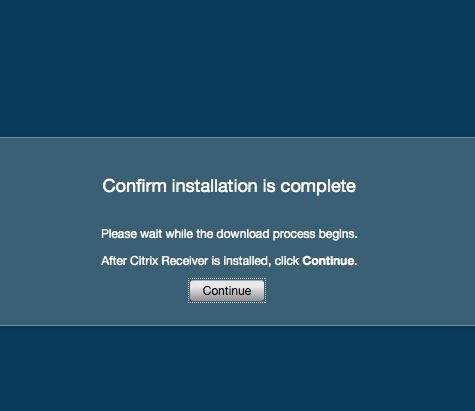
The Citrix Receiver is the local client that runs Citrix-hosted applications.

Note
titleBrowser note

Currently the Citrix ICA Plugin does not function in 64-bit versions of Chrome. If you have trouble using Chrome to launch Citrix Applications, please try using a different browser.

Tested browsers include:

PC: Firefox, IE, Opera, Chrome 32-bit

Mac: Firefox, Safari, Chrome 32-bit


Step-by-step guide (for PC)

Expand
Info
titleCitrix Receiver for Web Plugin

Citrix Storefront (the website where apps are listed) uses a browser plugin to detect the Citrix software. The below screenshots are of Firefox, but all browsers listed above will need to allow/unblock this plugin. This is the same for all of our web app installations, like Bomgar. If any of the screens below don't appear, check for a blocked plugin in the browser address bar.

  1. Go to https://newcloudpc.drew.edu/ 
  2. You will be prompted to install the Citrix Receiver. Click the checkbox to agree with the license agreement (you may read the agreement first if you like). Click Install.
    Image RemovedImage Added
  3. After the installer downloads, you may be prompted to Save or Run the file. You will see examples below of Firefox prompts (Save File, then click on it in the Downloads drop down) and Internet Explorer prompts (Run the installer.
    Image Removed
    Image Removed, then Yes).
    Image AddedImage Added
    Image Added
  4. Click Start. Review and accept the license agreement.
    Image Added
  5. Do not enable single sign-on.
  6. We recommend changing the option for sending usage data to Citrix to "No".
    Image Added
  7. Click Install.
  8. At the end of the installation, you will get the "Installed Successfully!" message. Choose Finish.
     
  9. After the installation completes, the Citrix site will detect Citrix Receiver and prompt you to Allow the "Citrix ICA Client" plugin. Choose . In IE, choose "Allow." In Firefox, choose "Allow," then "Allow and Remember."
    Image AddedImage Added
    Image RemovedImage AddedImage Added
  10. You will then be sent to your Citrix Receiver for Web CloudPC Desktop. This is where you can customize your available applications. to add an application, follow the arrow and click on the + sign on the left.
    Image RemovedImage Added
  11. Navigate to the section containing your application-these applications by clicking on the plus sign to the left. These categories are similar to the folders in the previous CloudPC system. If you wish, you can also use the Search bar in the upper right of the CloudPC Desktop.
    Image Removed
    Image RemovedImage Added Please note: Your list of available applications depends on your role(s) at Drew.
    Image Added
  12. Clicking the application name in either the Applications Menu or the Search will add it to your CloudPC Desktop. Single-click an application to launch.
    Image RemovedImage Added

Step by Step Guide (for Mac)

Expand
Info
titleCitrix Receiver for Web Plugin

Citrix Storefront (the website where apps are listed) uses a browser plugin to detect the Citrix software. The below screenshots are of Firefox, but all browsers listed above will need to allow/unblock this plugin. This is the same for all of our web app installations, like Bomgar. If any of the screens below don't appear, check for a blocked plugin in the browser address bar.

  1. Go to https://newcloudpc.drew.edu/ 
  2. You will be prompted to install the Citrix Receiver. Click the checkbox to agree with the license agreement (you may read the agreement first if you like).
  3. After the installer downloads, you may be prompted to Save or Run the file. Run the installer by clicking in the top right corner to run the dmg file from your downloads.

  4. Run the installer and the following page will appear.
  5. At the end of the installation, you will get the "Installed Successfully!" message. Choose Finish.
  6. After the installation completes, the Citrix site will detect Citrix Receiver and prompt you to Allow the "Citrix ICA Client" plugin. Choose In IE, choose "Allow." In Firefox, choose "Allow," then "Allow and Remember."
    Image AddedImage Added
    Image RemovedImage AddedImage Added
  7. You will then be sent to your Citrix Receiver for Web CloudPC Desktop. This is where you can customize your available applications. to To add an application, follow the arrow and click on the + sign on the left.
    Image RemovedImage Added
  8. Navigate to the section containing your application-these are similar to the folders in the previous CloudPC system. If you wish, you can also use the Search bar in the upper right of the CloudPC Desktop.
    Image RemovedImage Added
    Image RemovedImage Added
  9. Clicking the application name in either the Applications Menu or the Search will add it to your CloudPC Desktop. Single-click an application to launch.
    Image Added


Related articles


Content by Label
showLabelsfalse
max5
spacestechdocs
sortmodified
showSpacefalse
reversetrue
typepage
labelscitrix receiver