...
| Expand | ||||||||||||||||||||||||||||||||
|---|---|---|---|---|---|---|---|---|---|---|---|---|---|---|---|---|---|---|---|---|---|---|---|---|---|---|---|---|---|---|---|---|
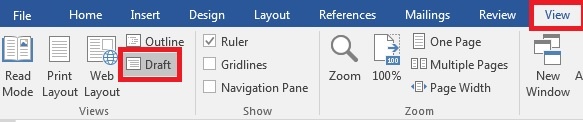
Paragraph MarksParagraph marks can be helpful to see when something is not responding to formatting the way you expect it to. These can be turned on and off by clicking the paragraph marks symbol, Text
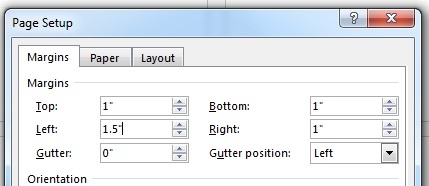
Page Margins
Title Page
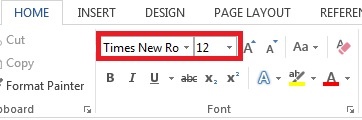
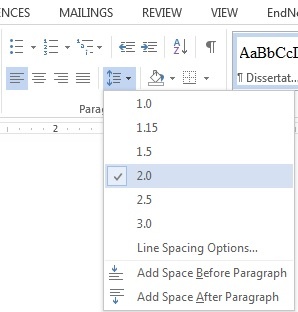
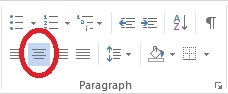
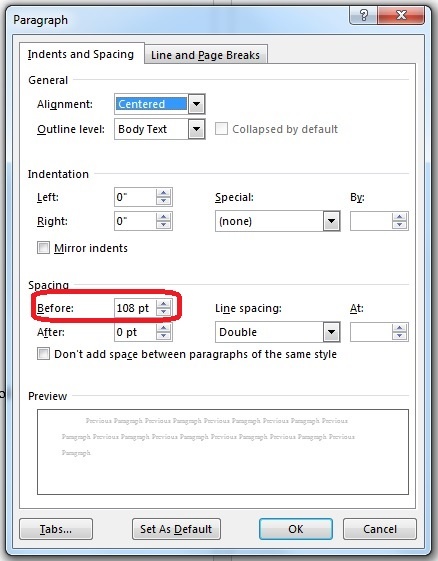
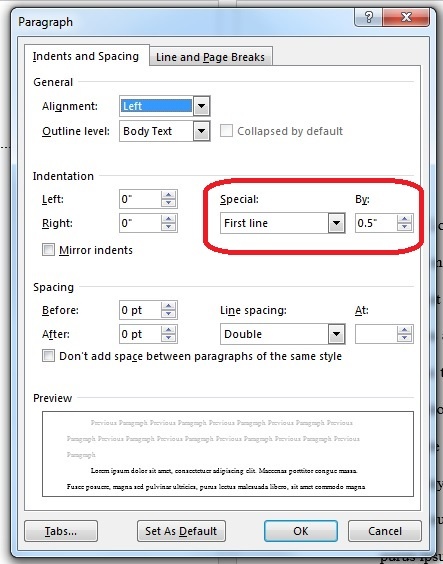
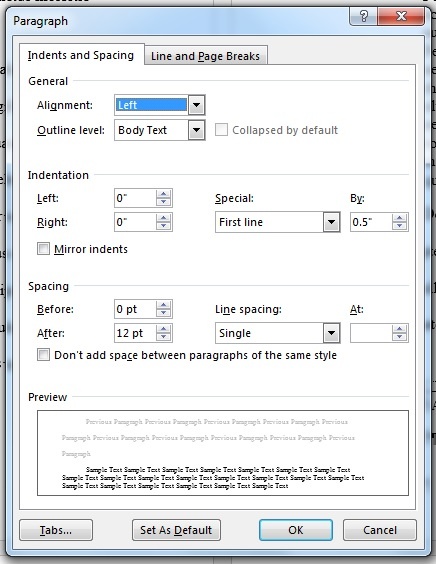
Body Paragraphs
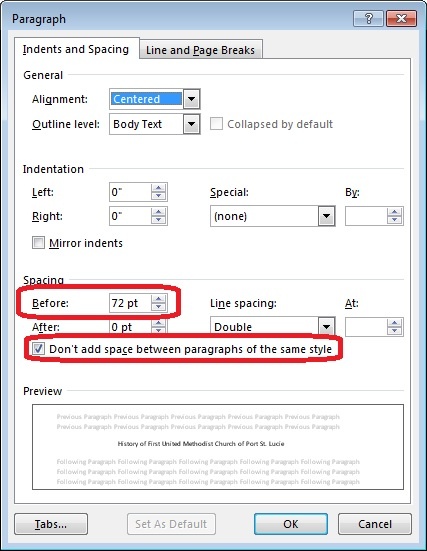
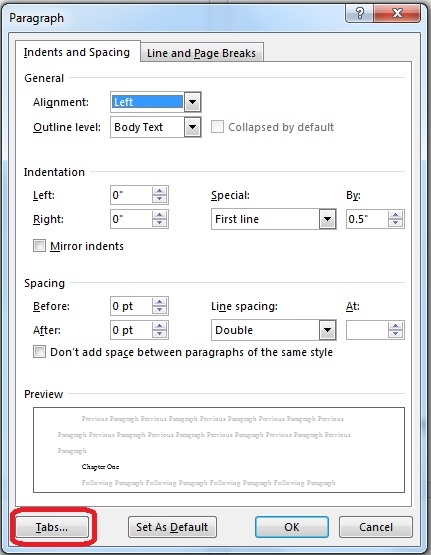
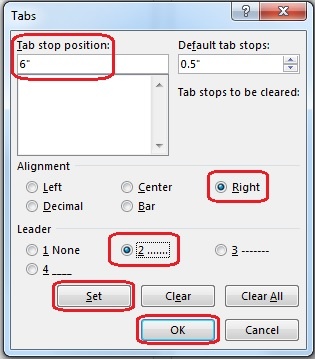
Chapter Titles
Block Quotes
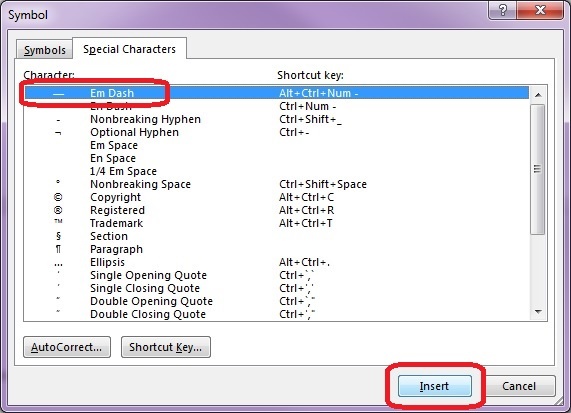
Long or Em Dash
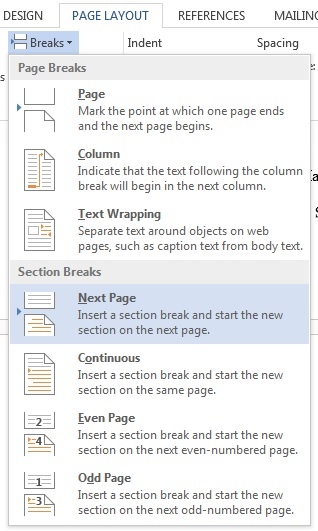
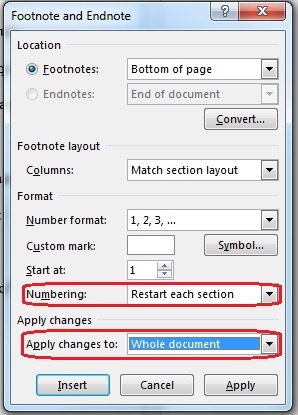
Adding Section Breaks (for page numbering and footnotes)
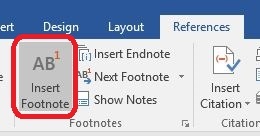
Footnotes
Page NumberingYou will find step by step instructions for page numbering atNumbering Your Pages. Images and CaptionsIf you are including images in your paper, you can read how to add captions in Word in this article (applies to Word 2007, 2010, 2013, and 2016). This YouTube video from Office gives you some tips for including images in your Word document: https://www.youtube.com/watch?v=pPlBSv5C83M Table of Contents
|


Order of Materials
| Expand |
|---|
Please confirm this order with your adviser. Also keep in mind that not all of these elements are necessary for your paper. Again, confirm requirements with your adviser. Theological School Front Matter Title page; Copyright; Abstract; Dedication (no page numbers) Table of Contents; Figure List; Acknowledgements; Abbreviations; Glossary* (lower case Roman numerals) Back Matter Appendix/ces; Glossary*; Bibliography (Arabic numerals) Graduate School Front Matter Title page; Copyright; Abstract; Dedication (no page numbers) Table of Contents; Acknowledgements; Other (figure list, abbreviations, preface) (lower case Roman numerals) Back Matter Appendix/ces; Glossary*; Bibliography (Arabic numerals) CV (no page number) * The Glossary can be placed with the front matter or back matter |
Microsoft Office Support
| Expand |
|---|
Page numbers
Table of ContentsWord has a feature which will use heading styles from your document to automatically create a Table of Contents. Self-paced courses:
Articles:
FootnotesYou can watch videos or download entire courses about working with footnotes in Word here:
Articles with instructions can be found at the following links:
Section BreaksIf you are saving your entire thesis or dissertation as one document, you will need to use section breaks to allow you to format the first page of each chapter properly. Information about this feature can be found at the following links:
Note: You will want to use "Next Page" section breaks between chapters. You can follow the instructions at Number pages differently in different sections to number the pages for each section of the document. Remember to use the "different first page" option! BibliographyThe following information may be helpful when you are ready to create your bibliography:
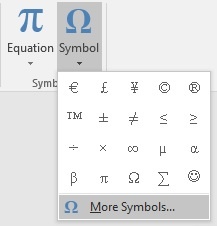
CaptionsYou can read how to add captions in Word in this article (applies to Word 2007, 2010, 2013, and 2016). |
...
| Expand | ||||||||
|---|---|---|---|---|---|---|---|---|
|
...
Miscellaneous Tips
Learn about using styles to save yourself time formatting your chapter titles or subtitles.- Word 2007, 2010, 2013, 2016: Customize styles in Word
- Word 2016 for Mac: Customize styles in Word 2016 for Mac
- Be cautious copying and pasting text in Word, even from one Word document to another
- To clear all formatting on selected text, on the Home tab, in the Font group, choose Clear All Formatting.
- To clear all formatting on selected text, on the Home tab, in the Font group, choose Clear All Formatting.
- Watch your white space: What you see as empty, Word may read as information
- To start a new page, use the Insert>Page Break option (or CTRL+ENTER on the keyboard) rather than hitting Enter multiple times
- Remember to save constantly as you work, and to save copies of the updated file(s) to all of your backup locations after each time working on your document
- Don't worry about page numbers or your Table of Contents until you are mostly finished writing
- You can use PDF-XChange Editor, found in CloudPC, to combine multiple PDF files into one PDF document (see "Using PDF-XChange Editor", above)
- If you feel more comfortable hiring someone to do the formatting for you, consider hiring a professional editor. The University Writing Center has a list of recommended professionals in the area.
Guidelines for Dissertations
- DMIN Publication Procedures - a PDF outlining the formatting guidelines for the Doctor of Ministry program
- GDR Dissertation Guidelines - a PDF outlining the style guidelines and structure for the Graduate Division of Religion program
- CSGS Guidelines for the Preparation of Doctoral Dissertations - a PDF with information on the dissertation for the Caspersen School of Graduate Studies programs
Helpful Links and Pages
- The University Library is your go-to for assistance in finding primary and secondary sources, as well as more information about citation managers.
- Research Resources
- Endnote Online aka Endnote Web Bibliographic Software
Zotero Bibliographic Management Software
Note If you are having trouble with installation of the Endnote software, please call the UT Service Center at 973-408-4357 or bring your laptop to the UT Helpdesk in the Academic Commons.
If you are having trouble managing citations, please visit the Research Help Desk in the Academic Commons.
- The University Writing Center (UWC), part of the Center for Academic Excellence, is an excellent resource for those who have questions about the writing and editing process. Please visit this website for more information: http://libguides.drew.edu/writingresources/home
- Formatting a Dissertation in Word: Workshop Handout
- Citation Information Handout - another handy resource from the Library Reference desk
- DMIN Publication Procedures - a PDF outlining the formatting guidelines for the Doctor of Ministry program
- GDR Dissertation Guidelines - a PDF outlining the style guidelines and structure for the Graduate Division of Religion program
Submitting Your Completed Paper
...