This page will hopefully serve as a hub of information for those writing their theses or dissertations at Drew.
Drew Technology compiled these instructions for Drew Graduate and Theological School students as help for formatting theses and dissertations. The instructions here do not replace nor supersede any requirements or instructions provided by the Graduate or Theological Schools or by individual faculty members. Graduate and Theological students are encouraged to use these instructions, and the provided templates, as a tool that will teach you how to do your own formatting. We cannot offer support for following these instructions.
| Table of Contents | ||
|---|---|---|
|
| Children Display | ||
|---|---|---|
|
To return to this page or share it with a friend, use this link: tinyurl.com/DrewFormatting
Step 1: Make a Back Up Plan
| Expand |
|---|
You've decided to write an honors thesis or dissertation. Congratulations!
Many people are intimidated by the process of writing, editing, and defending a long paper. We in University Technology are here to make the formatting part of the process as stress-free as possible!
You will find links to documentation we find useful below, as well as a few suggestions. Please contact the University Technology Service Center at 973-408-4357 with additional questions, or to schedule an appointment with the Student Lab for more assistance.
| Table of Contents |
|---|
...
The most important habit of all is backing up your thesis or dissertation (and supporting materials) as you write. |
...
in multiple places |
...
- the standard recommendation is three places. This means, for example, storing a copy on the hard drive of your computer, on your Drew Network F: drive, on a "cloud" drive, and |
...
on an external piece of hardware such as a USB Flash drive or external hard drive. When you have saved changes to your thesis, save the changed document to all of the backup locations with the same name. It is extra work to create the backups, but it will save you a great deal of time should one file get lost or corrupted! |
...
An additional non-Drew method for backing up your documents and accessing them anywhere is the website Dropbox. Dropbox is a free service that lets you bring your photos, documents, and videos anywhere and share them easily. This is done by syncing work to the site's cloud drive allowing for easy access across multiple devices (mobile, web, and desktop). We recommend having at least 3 copies of your work. Use the storage solutions that you are most comfortable with, and remember to update the file(s) in each location at the end of each day's work. |
Starting to Write
...
Step 2: Download a Drew Dissertation Template
| Expand | ||
|---|---|---|
| ||
We recommend that you use one of our templates, which come with many of these formatting styles programmed and ready to use |
...
. Please see the Drew Dissertation Templates |
...
page for more information and the templates themselves.
|
Step 3: Write - Guidelines and Resources
| Expand | ||||
|---|---|---|---|---|
This is the most important step! Focus on the content of your work - the research, the creative elements, your unique perspective. Guidelines for DissertationsThese documents are current to the best of our knowledge. Always confer with the director of your program to be certain you are following the most recent guidelines.
Order of Materials
Helpful Drew Resources
A Note about Google DocsGoogle Docs is a wonderful place to work for a wide variety of reasons. Unfortunately, those reasons do not cover some of the basic formatting required of a thesis or a dissertation (most importantly, the page numbering). Google has made recent strides in offering some of the formatting required, but not all of it. If you work primarily in Google Docs, we recommend that you plan time to move your work into Microsoft Word (either by downloading the Doc as a Word file, by copying and using Paste > Keep Text Only - which will require formatting adjustments, or by doing both to see what method requires the least amount of adjusting work for your particular document). |
Step 4: Format (Margins, Page Numbers, Headings, Etc)
Keep formatting in mind throughout your writing, and leave yourself time to work on any formatting concerns.
| Expand | ||||||
|---|---|---|---|---|---|---|
| ||||||
The easiest way to format your paper is to use a Drew Dissertation Template from as early in the process as possible. You can copy and paste existing text into the template, but will need to be conscious of what formatting is being carried over; most often, pasting text into the template with the Paste Special > Keep Text Only option will be the best choice, but you can try the Merge Formatting option if you are trying to retain, for example, hyperlinks. If you want instructions for formatting a specific type of content within your document (such as the table of contents or bibliography), see our Specific Formatting Instructions.
|
- It is important to know that you must start working from this template before typing any text.
- When you open a template, it will be blank. You will be providing the text!
Specific Formatting Challenges
| Expand | ||||||||||||||||||||||||||||
|---|---|---|---|---|---|---|---|---|---|---|---|---|---|---|---|---|---|---|---|---|---|---|---|---|---|---|---|---|
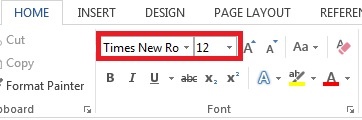
Paragraph MarksParagraph marks can be helpful to see when something is not responding to formatting the way you expect it to. These can be turned on and off by clicking the paragraph marks symbol, Text
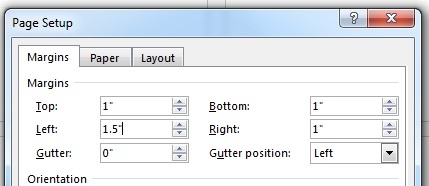
Page Margins
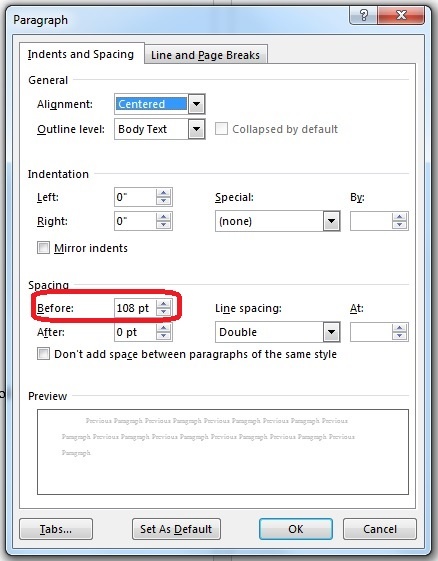
Title Page
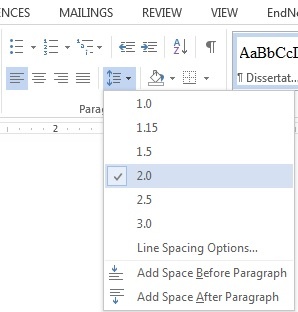
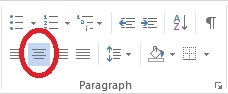
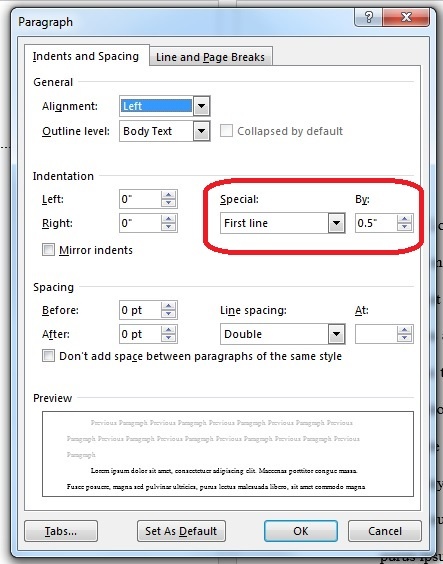
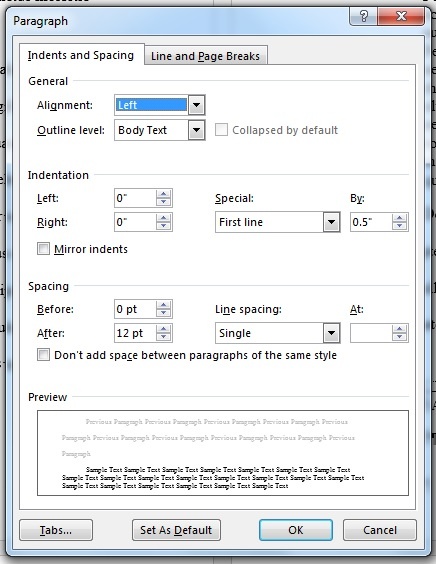
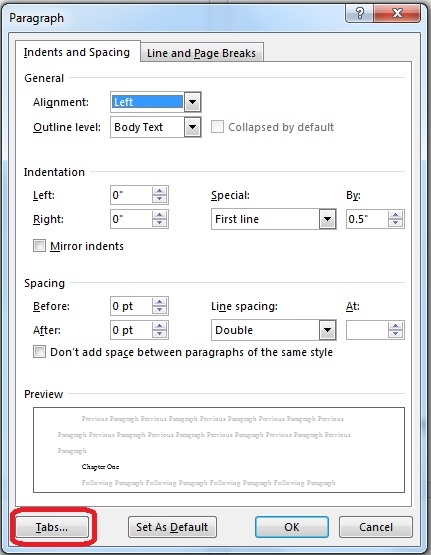
Body Paragraphs
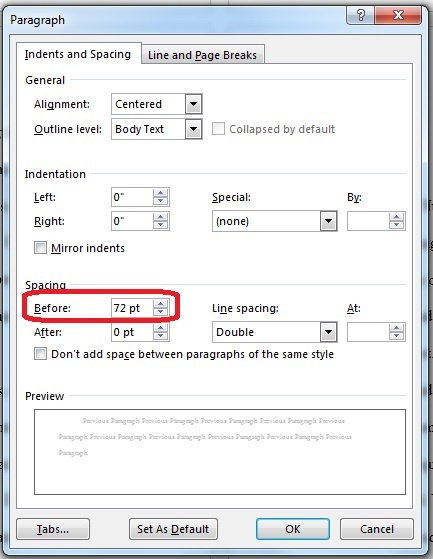
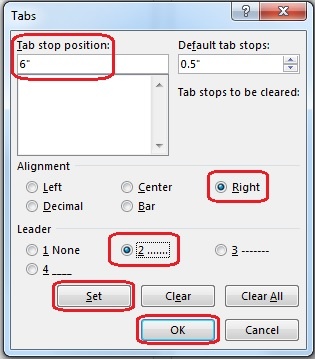
Chapter Titles
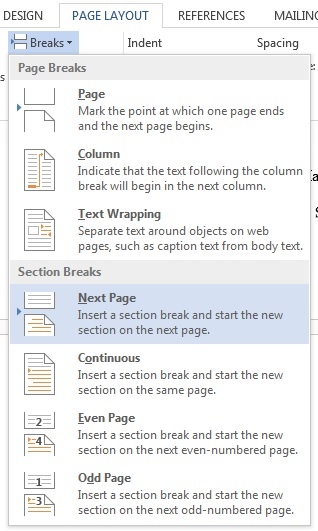
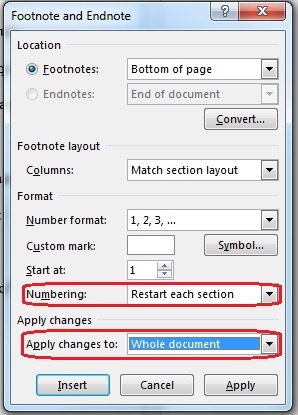
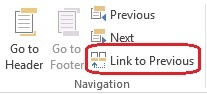
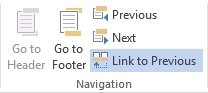
Adding Section Breaks (for page numbering and footnotes)
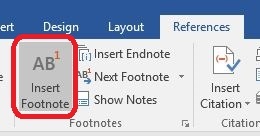
Footnotes
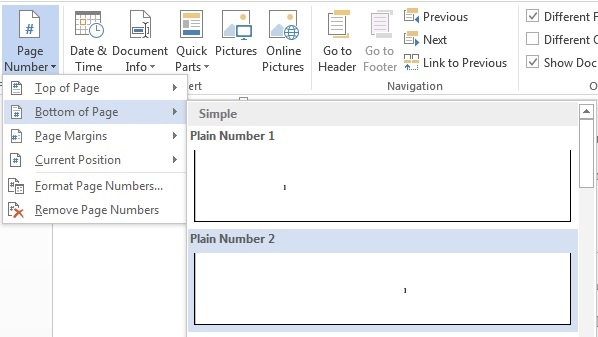
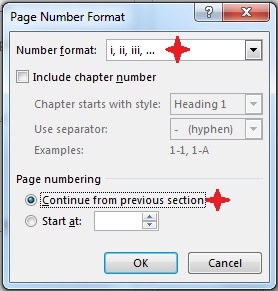
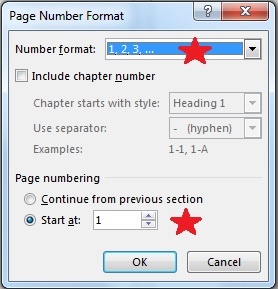
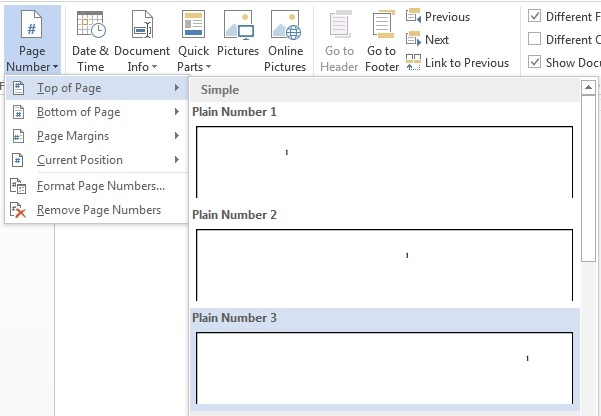
Page Numbering
Table of Contents
|


Microsoft Office Support
| Expand |
|---|
Page numbers
Table of ContentsWord has a feature which will use heading styles from your document to automatically create a Table of Contents. Self-paced courses:
Articles:
FootnotesYou can watch videos or download entire courses about working with footnotes in Word here:
Articles with instructions can be found at the following links:
Section BreaksIf you are saving your entire thesis or dissertation as one document, you will need to use section breaks to allow you to format the first page of each chapter properly. Information about this feature can be found at the following links:
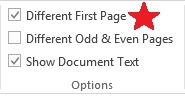
Note: You will want to use "Next Page" section breaks between chapters. You can follow the instructions at Number pages differently in different sections to number the pages for each section of the document. Remember to use the "different first page" option! BibliographyThe following information may be helpful when you are ready to create your bibliography:
|
...
|
Miscellaneous Tips
- Use the template provided, with built-in styles
- Be cautious copying and pasting text in Word, even from one Word document to another
- Watch your white space: What you see as empty Word may see as information
- To start a new page, use the Insert>Blank Page option (or CTRL+ENTER on the keyboard) rather than hitting Enter until you reach the page you want
- Remember to save constantly as you work, and to save copies of the updated file(s) to all of your backup locations after each time of working on your document
- Don't worry about page numbers until you are mostly finished writing
- You can use PDF-XChange Editor, found in CloudPC, to combine multiple PDF files into one PDF document (see "Using PDF-XChange Editor", above)
- If you feel more comfortable hiring someone to do the formatting for you, consider hiring a professional editor. A Google search for "professional editor" and your location should yield a few options.
Helpful Links and Pages
| Note |
|---|
If you are having trouble with installation of the Endnote software, please call the UT Service Center at 973-408-4357 or bring your laptop to the UT Helpdesk in the Academic Commons. If you are having trouble managing citations, please visit the Research Help Desk in the Academic Commons. |
- Internet Searching - The Library has put together a page with links to information about using the internet to research.
- Thesis Formatting Guidelines.pdf
- This document includes a summary of formatting notes important to your paper, with references to the 8th Edition of A Manual for Writers of Research Papers, Theses, and Dissertations by Kate Turabian, as well as a sample title page and sample abstract page
- Library Lightning Round - An issue of the Library's "Library Graffiti" with a list of some of the best places to look for information.
- The Drew University Center for Writing Excellence is an excellent resource for those who have questions about the writing and editing process. Please visit their website for more information: https://www.drew.edu/writingstudies/writing-center
Step 5: Defend
| Expand |
|---|
Your reading committee and adviser, as well as the program directors, will work with you to make sure you know the deadlines for scheduling your dissertation defense. We hope to include additional information for you here as we collect it! |
Step 6: Submit Your Approved
...
Paper
You can submit your completed, approved paper at httphttps://walterdigitalcollections.drew.edu/etdUniversityArchives/ThesesAndDissertations/#how2publish. You can will find instructions on that page.
Step 7: Celebrate!
We knew you could do it!
Reviewed 9/18/23