...
Drew University has, as of this writing, a site wide license.
| Expand | ||
|---|---|---|
| ||
|
First Time Set Up
| Expand |
|---|
Step 1 InstallInstall the Screencastify extension in the Chrome browser. Step 2 Sign InSign in with your Drew email address. Note: If you don't see the extension, you might just have too many other extensions. Try using the keyboard shortcut - Alt+Shift+S on Windows or Option+Shift+S on Mac - to open the extension and prompt the setup steps. You will need to allow cookies for this site (some people have them blocked, either in Chrome settings and/or with an extension.) Tip: If you want to follow the setup in Chrome using the Sign in With Google option, make sure you choose your Drew Google account. Step 3 Connect Google DriveThis allows Screencastify to automatically save your recordings to your Drive - a safer place to store them than on your local computer. Signing in with your Drew Google account takes care of this. Step 4 Check webcam and micCheck Screencastify's instructions for setting up your webcam and microphone.
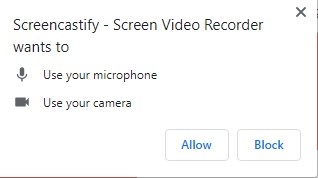
Allow Allow You may need to click Next again. Screencastify will ask you to introduce yourself. Now you're all set to use Screencastify! |


...
| Tip |
|---|
If you do not see the icon |
Starting a recording
When you click on the Screencastify icon (or press the keyboard shortcut), you will see the following window pop up:
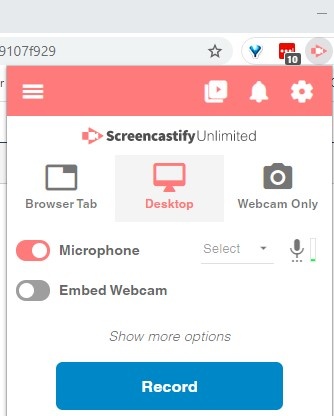
Note your choices along the top row for what you can record: a browser tab, your desktop, or just your webcam.
You can also turn your microphone on or off, and choose whether or not to have a small video of you in the corner of the screen during the recording.
Press Record when you are ready to begin.
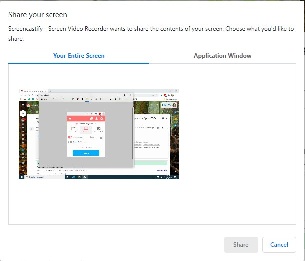 You may be prompted to choose what you want to share. If you will be navigating between browser tabs and a file such as a PowerPoint, choose the desktop option. If you are only going to be sharing a specific app, like PowerPoint, feel free to share only that Application Window. After you click on your selection, choose Share.
Ending a Recording
Click the icon and press the Stop button, or use the Alt+Shift+R (Option+Shift+R) keyboard shortcut. This same shortcut will start a recording!
After you end a recording, you will be taken to the video's details page. We highly recommend taking the tour the first time to see some of the things you can do with the video right away!(More coming soon!)