...
Drew University has, as of this writing, a site wide license.
For those who prefer a video tutorial, please watch this!
| Expand | ||
|---|---|---|
| ||
|
Video Tutorials
- Getting Started with Screencastify
- Exporting/Downloading Screencastify Videos
- Uploading a Video file to Moodle (recorded with faculty in mind, but students can follow the tutorials above to record and export or download, then use the file picker or drag and drop options to submit a file as an assignment if requested)
First Time Set Up
| Expand |
|---|
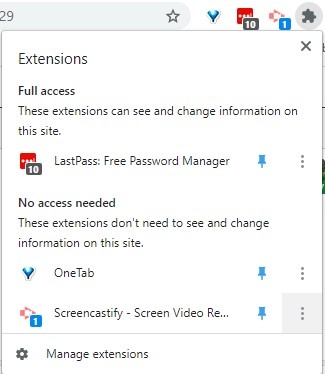
Step 1 InstallInstall the Screencastify extension in the Chrome browser. We recommend option 2, the Chrome web store. Step 2 Sign InSign in with your Drew email address. Note: If you don't see the extension, you might just have too many other extensions. Try using the keyboard shortcut - Alt+Shift+S on Windows or Option+Shift+S on Mac - to open the extension and prompt the setup steps. You can also pin the extension by clicking the extension puzzle piece icon to expand the extensions menu, then making sure the pushpin icon for Screencastify is blue.
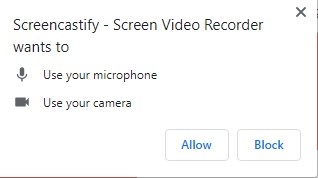
You will need to allow cookies for this site (some people have them blocked, either in Chrome settings and/or with an extension.) Tip: If you want to follow the setup in Chrome using the Sign in With Google option, make sure you choose your Drew Google account. Step 3 Connect Google DriveThis allows Screencastify to automatically save your recordings to your Drive - a safer place to store them than on your local computer. Signing in with your Drew Google account takes care of this. Step 4 Check webcam and micCheck Screencastify's instructions for setting up your webcam and microphone.
Allow Allow You may need to click Next again. Screencastify will ask you to introduce yourself. Now you're all set to use Screencastify! |


...