Many Drew employees still use the network drives – often referred to as G: or P: - to save and share files they need to work on collaboratively.
Now that so many of us are working from home, we want to share some recommendations for doing so more easily. Especially for those working with sensitive data, going through CloudPC helps to protect that data.
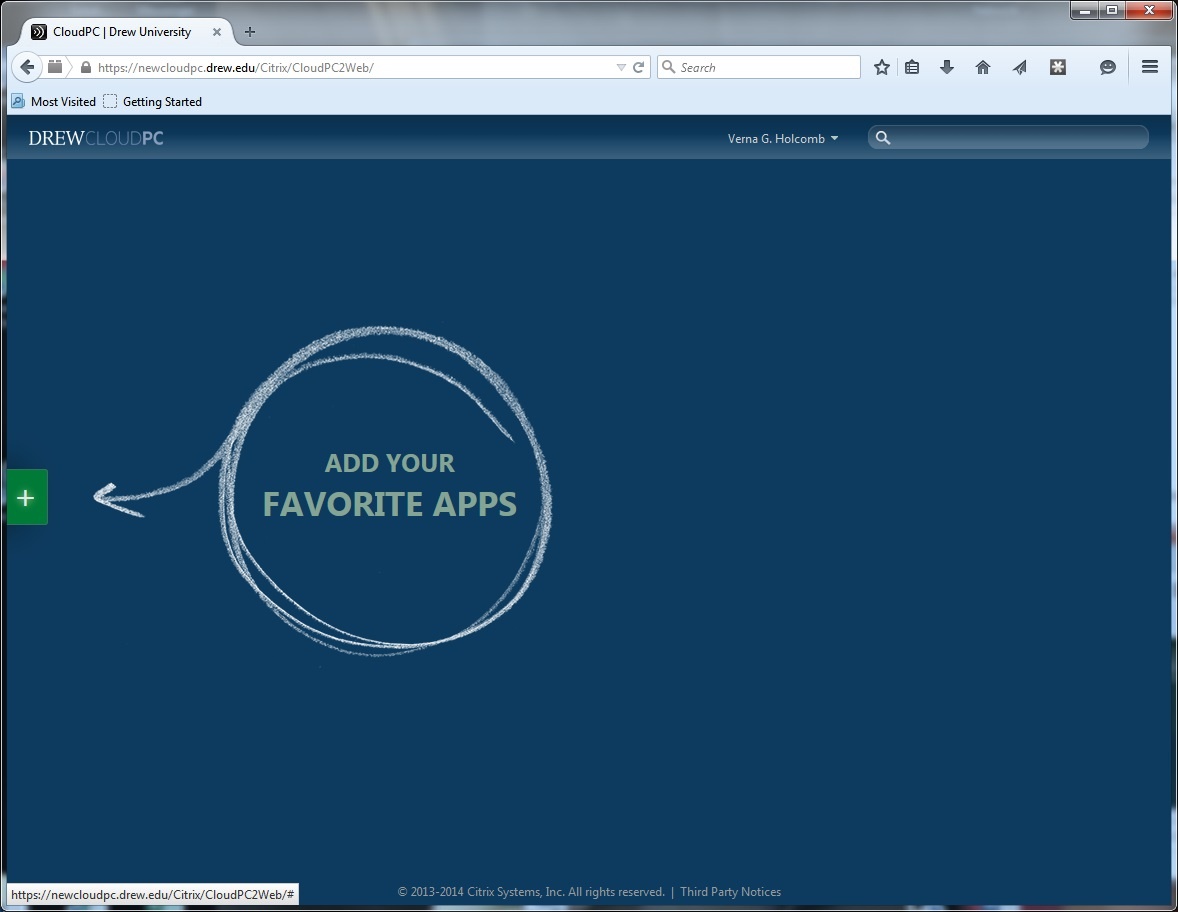
If you find yourself consistently editing existing files saved to a network drive, or working with content that is protected (see the Responsible Use of University Data Policy), please use CloudPC (cloudpc.drew.edu).
Please install the latest version of the Citrix Workspace App for your computer:
Windows: https://www.citrix.com/downloads/workspace-app/windows/workspace-app-for-windows-latest.html
Mac: https://www.citrix.com/downloads/workspace-app/mac/workspace-app-for-mac-latest.html
Word, Excel, PowerPoint, PDF-XChange Editor, etc.
In order to open and edit a file in one of these programs, you will need to launch the file from within the program - NOT from within Windows Explorer.
Please follow the directions below.
The applications are sorted into categories. These categories are similar to the folders in the previous CloudPC system.
If you wish, you can also use the Search bar in the upper right of the CloudPC Desktop.
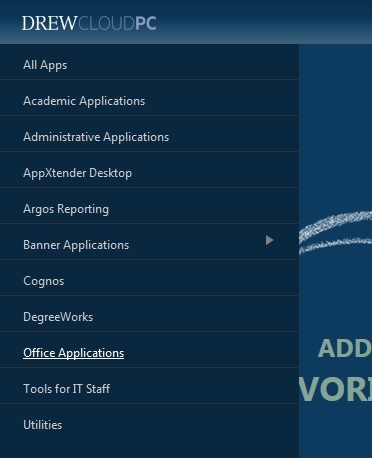
Please note: Your list of available applications depends on your role(s) at Drew.
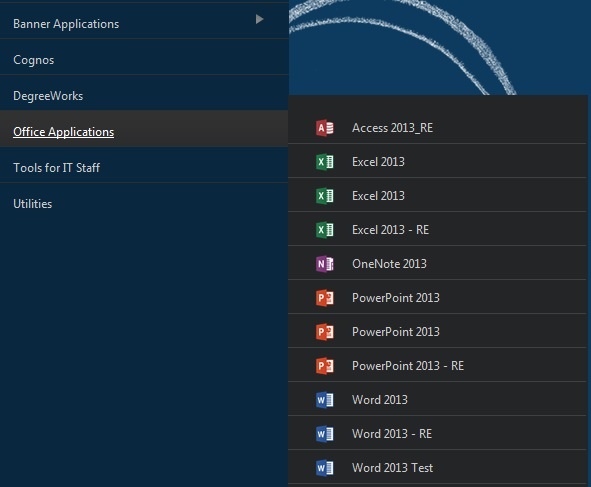
Clicking the application name in either the Applications Menu or the Search will add it to your CloudPC Desktop. Single-click an application to launch.
You will find a folder of Office Applications using the plus sign to the left, or you can search for a specific program like PDF-XChange Editor in the search box at the top right.
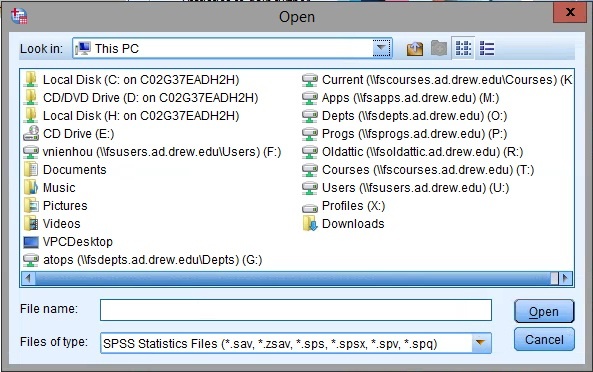
Once you’ve opened, for example, Word, go to File > Open > Computer > Browse.
You will be in your F: drive.
Click on This PC to the left.
If you haven’t seen the pop-up already, you will be prompted for permission to access information; be sure to permit all access or grant read/write permissions (depending on your OS).
The first time you try to access your drives, you will be asked if Citrix Workspace has permission to access your files.
Windows
On a Windows computer, the approval prompt looks like this:
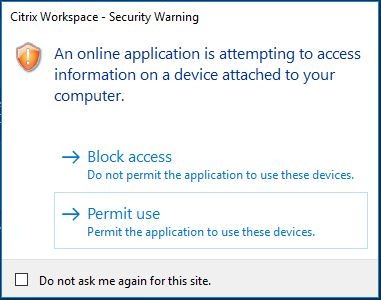
If you intend to both open files from and save files to your drives, you will want to select "Permit all access". You can check the box to not be asked again if you wish.
If there is no prompt and you don't see your drives, you're either 1) using the HTML5 client (app is open in a browser tab and not a seamless window) or 2) have chosen "Block Access" in the past and chosen to remember that choice.
To change the access setting:
- Right click the Citrix Workspace icon in the system tray.

- Select Connection Center from the menu.

- Click on a server name in the Connection Center window, then click Preferences.
- Change your File Access setting to "Read and write".

- Click OK.
- Click Close.
Here is an example of the drives you can see (this example is from a Drew-issued desktop computer - what you see will be slightly different depending on your computer):
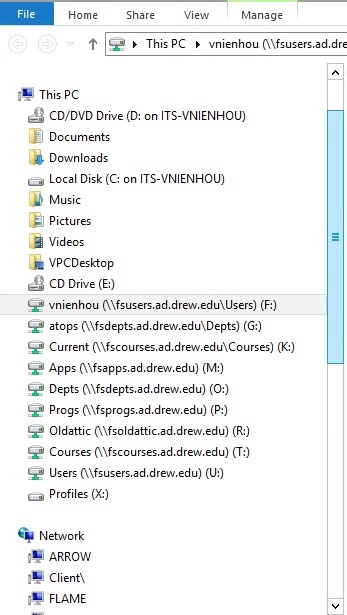 | Your local hard drive will be listed as "Local Disk (C: on COMPUTER-NAME)". You will need to know how your computer is set up to locate any files saved to your desktop, Documents, or Downloads folders. Drew faculty and staff: Please note that Drew-issued staff and faculty desktop computers are set up so that these folders save to the personal network drive (F:), not the C: drive. |
The Documents, Downloads, etc folders you see in this list are the folders (with the same names) on your personal network drive (F:). These can also be accessed by selecting the drive with your username (for example, "vnienhou (\\fsusers.ad.drew.edu\Users) (F:)"). |
Mac
On a Mac, the prompt looks like this:

If you intend to both open files from and save files to your drives, you will want to select "Read & Write". You can check the box to not be asked again if you wish.
Here is an example of the drives you will see (this is a laptop running Mac):
 | Your local hard drive will be listed as "Local Disk (C: on COMPUTER-NAME)". Computers with multiple partitions may see more than one local disk. You will need to know how your computer is set up to locate any files saved to your desktop, Documents, or Downloads folders. |
The Documents, Downloads, etc folders you see in this list are the folders (with the same names) on your personal network drive (F:). These can also be accessed by selecting the drive with your username (for example, "vnienhou (\\fsusers.ad.drew.edu\Users) (F:)"). |
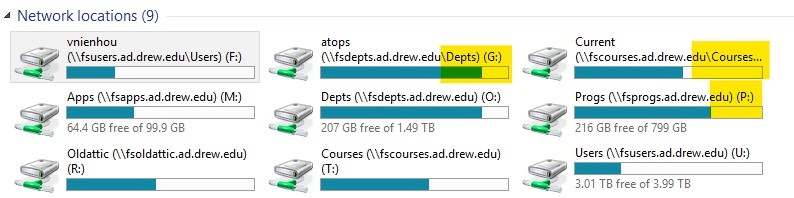
Next, you will see your network drives as though you were on campus (some are highlighted in the image below) – because, in essence, the virtual computer you are working on is on campus!
From here, you can navigate to, open, edit, and save the file you need to interact with just as you would on campus.
Reminder: Close Apps!
Please be sure to close the app windows when finished to avoid a hung session.
One of the biggest problems we've seen is when people can't launch applications anymore or an app they have running freezes. Often, this is due to a "hung session", which someone in UT has to clear.
To avoid this problem, please be sure to close all of the windows you have open for every application you use in CloudPC. For an app like SPSS, this includes that welcome window that first opens, as well as any and all data sets you open during use.
Closing your browser (or browser tab) or shutting your computer lid is not sufficient to properly disconnect your virtual session.
Reviewed December 3, 2025