Instructions for specific devices are below. You can click on the images to see them larger. The Terms of Service for using Google Apps is only available on the web, so before you set the account up on a mobile device, you will need to access your Drew Google account on the web. You only need to do this once, so if you've already logged in to your Google Apps account, you do not need to repeat this step. 1. Sign into your Drew Google account on the web. The easiest way is to simply go to http://mail.drew.edu. 2. Be sure to accept the Google Terms of Service and complete the "CAPTCHA." 3. Proceed to the instructions for your device. Enable IMAP Currently, users must explicitly enable IMAP before they are able to connect Mac Mail, Thunderbird, or another mail client to their account, or to set up their mobile device using the default Gmail settings. This must also be done from the web. Please visit https://support.google.com/mail/troubleshooter/1668960?hl=en#ts=1665018 to see how to enable IMAP.Before you begin
iOS (iPhone, iPad)
Adding your Drew account as a Google account
Some people may notice that they won't have access to Drew's global contact list in older versions of iOS using this method (this means you will see auto-fill work for people you have emailed in the past, but possibly not for Drewids you've never emailed before).
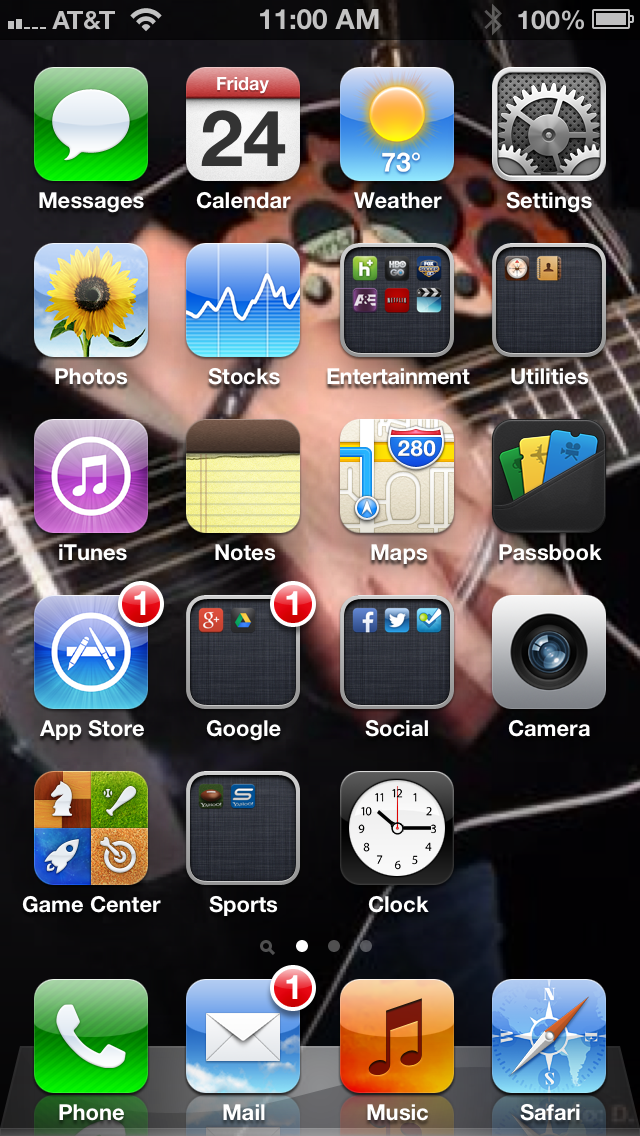
The images below are for reference only; your phone will most likely look different.
- Go To the "Settings" app on your phone or iPad.
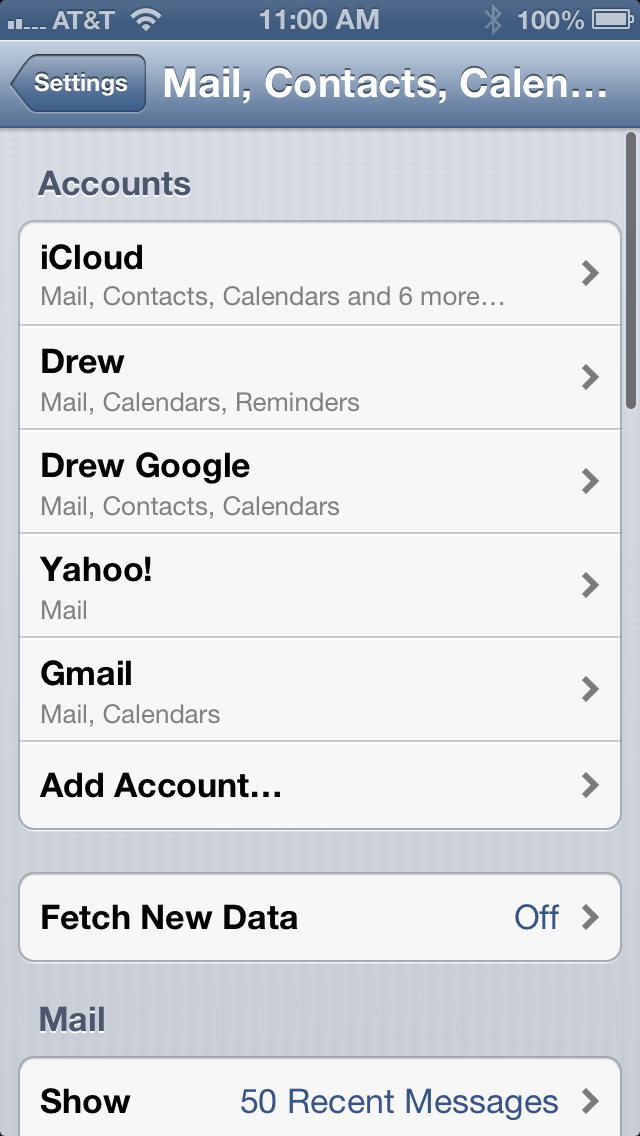
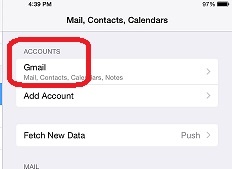
- Select "Mail, Contacts, Calendars" or "Accounts & Passwords" (this option seems to change with each update to iOS).
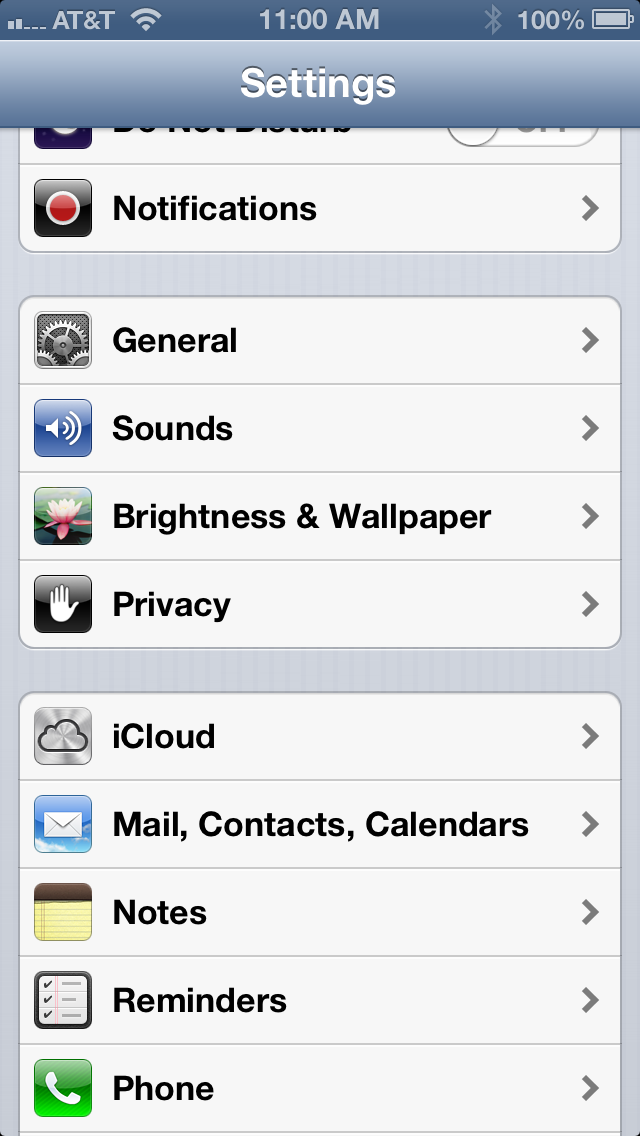 or
or 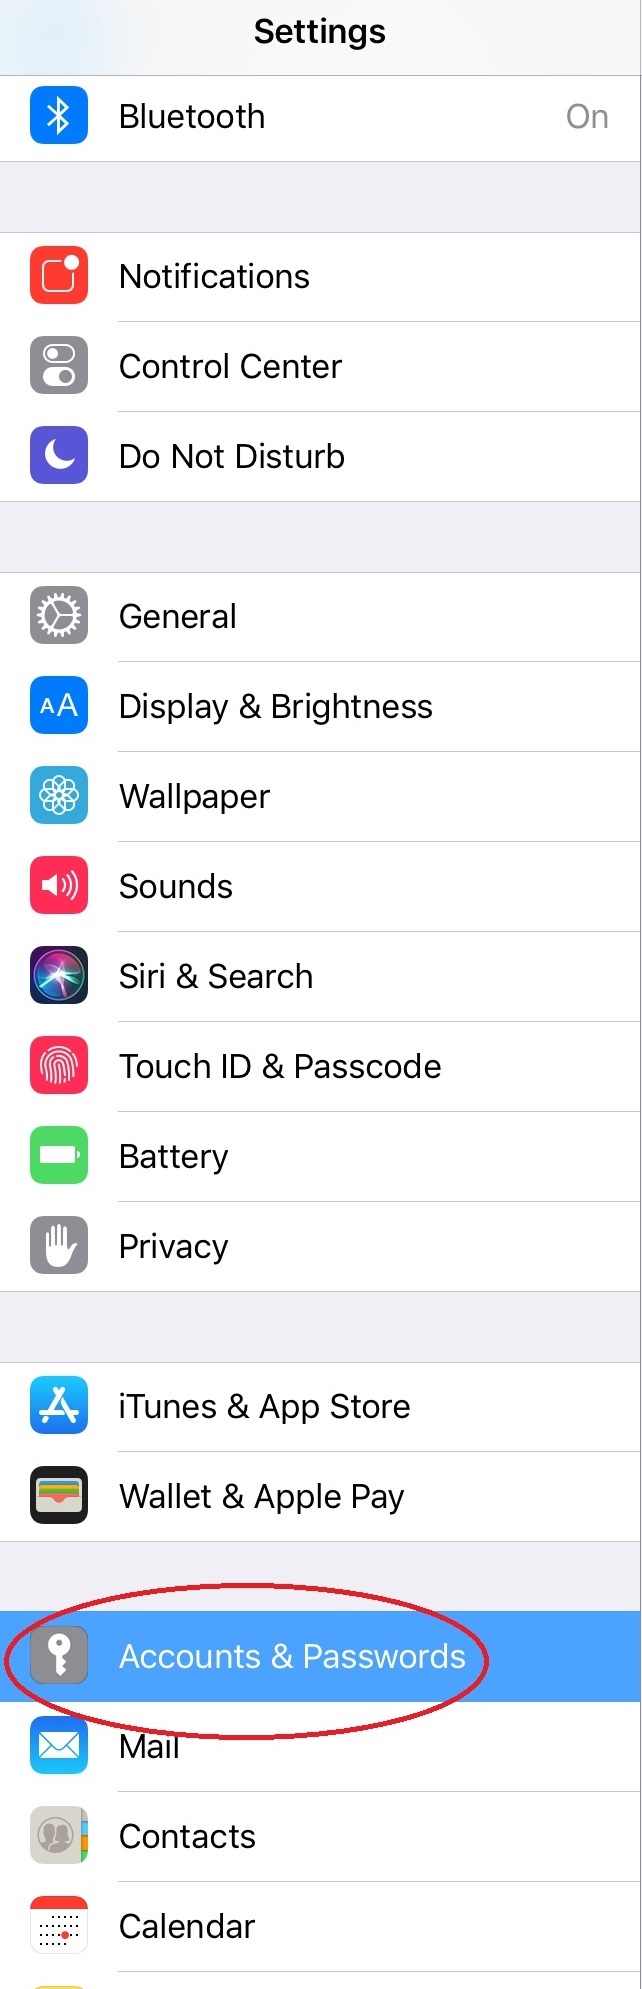
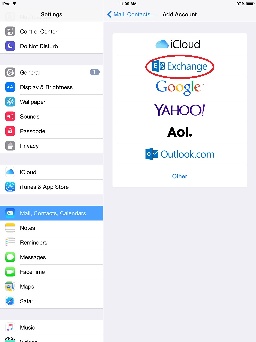
- Select "Add Account".
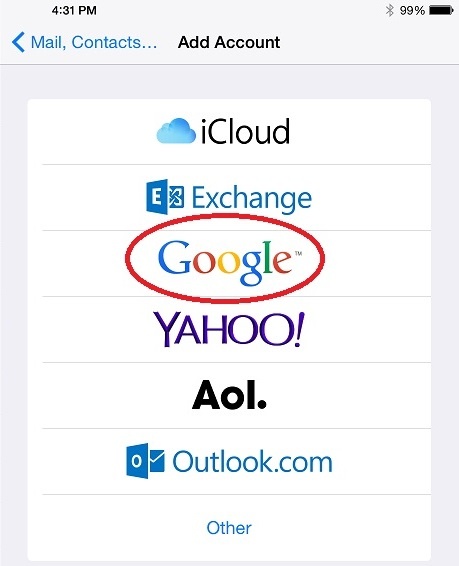
- Select "Google".
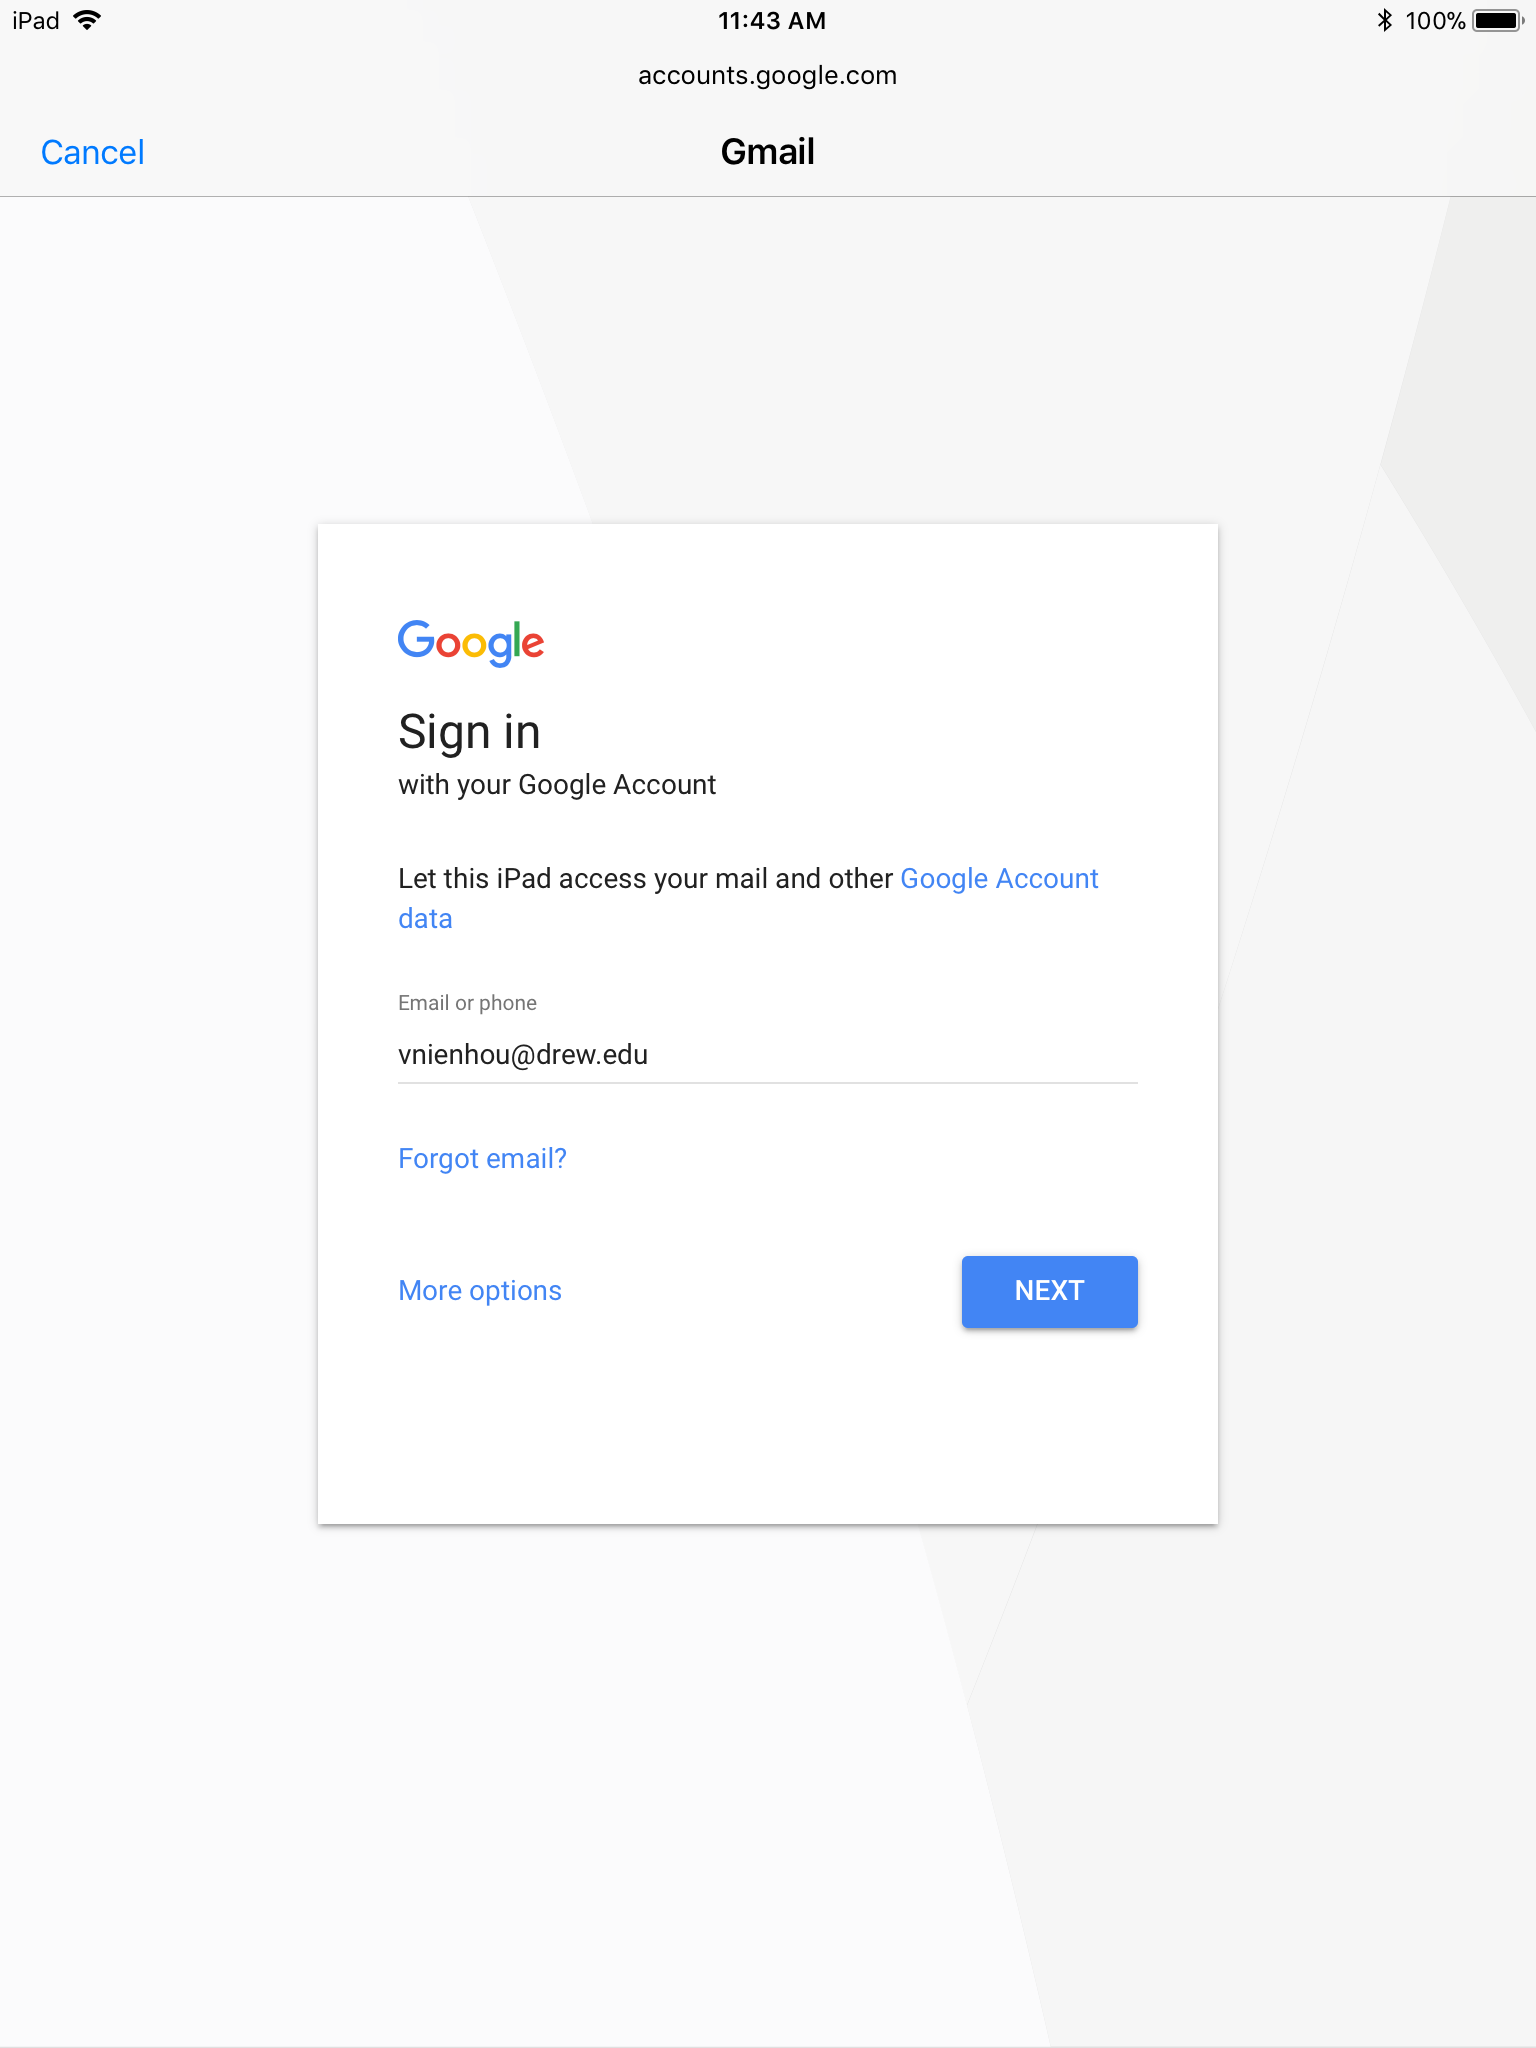
- Enter your Drew email address. Click Next.
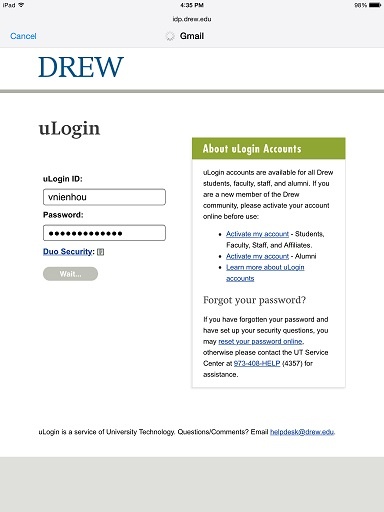
- Enter your Drew username and password. Choose Login. If you are using Duo Security, approve the login the way you normally would on a computer browser.
- If you wish to turn a specific feature off, touch the button to the right of that feature. When satisfied, choose Save in the top right.
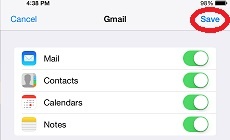
- You should now see a Gmail account in the Accounts list.
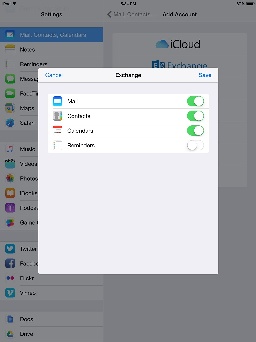
Adding your Drew account as an Exchange account
For most people, these options are not necessary.
- Go to the "Settings" app on your phone or iPad.
- Select "Mail, Contacts, Calendars" or "Accounts & Passwords". or
- Select "Add Account".
- Select "Exchange".
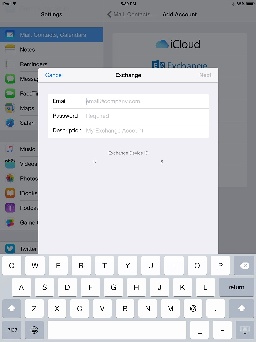
- Enter your Drew email address and uLogin password or if you have enrolled in the Duo Two-Factor Authentication service, your device password (device password can be found at drew.edu/duo) in the fields on the screen. In iOS 11, enter only your Drew email address.
- Use an informative name for Description such as "Drew Email".
- Click Next.
- If prompted to send data to Microsoft or configure manually, choose "Configure Manually", then provide your password (or device password) and click Next again.
Enter the following information into the open fields.
Email= username@drew.edu (should be filled in from prior screen)
Server= m.google.com
Username= username@drew.edu
Password= Your Drew uLogin Password, or if you have enrolled in the Duo Two-Factor Authentication service, your device password (should be filled in from prior screen).When you are finished entering all the information please click on Next.

- Choose what to sync. For example, here we turned off "Reminders" sync. Click Save.
Note: The password for your account will not actually be checked until you select "Save" above. Thus if the password was not entered correctly you may be prompted to reenter it.
Android
(most Samsung, HTC, LG, Motorola smartphones, Android tablets)
Android Device Policy