Starting at the End: Close Apps When You're Done!
One of the biggest problems we've seen is when people can't launch applications anymore or an app they have running freezes. Often, this is due to a "hung session", which someone in UT has to clear.
To avoid this problem, please be sure to close all of the windows you have open for every application you use in CloudPC. For an app like SPSS, this includes that welcome window that first opens, as well as any and all data sets you open during use.
Closing your browser (or browser tab) or shutting your computer lid is not sufficient to properly disconnect your virtual session.
Using CloudPC with the Citrix Workspace app
...
On certain devices, such as a Chromebook, you will be using CloudPC with the HTML5 client. See below for more information on the HTML5 client.
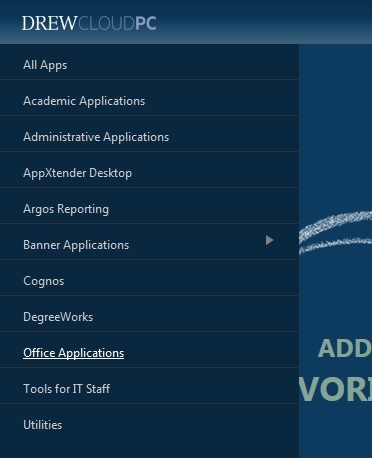
Adding Applications to your CloudPC Desktop
If you've already set up Citrix on your computer, going to cloudpc.drew.edu should bring you to your CloudPC desktop, or storefront. This is where you can customize your available applications. To add an application, follow the arrow and click on the + sign on the left.
| Multiexcerpt | ||
|---|---|---|
| ||
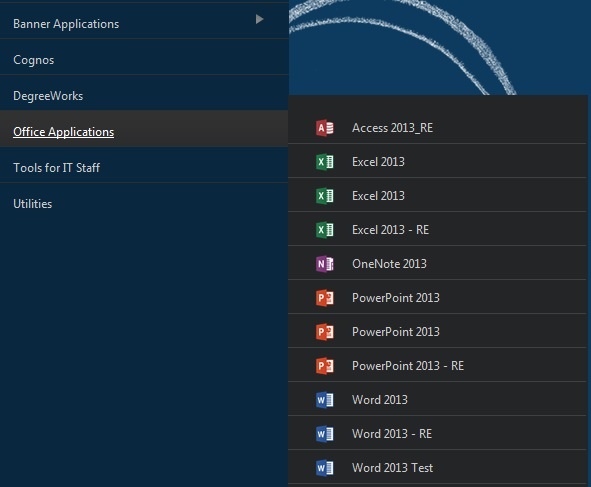
The applications are sorted into categories. These categories are similar to the folders in the previous CloudPC system.
Please note: Your list of available applications depends on your role(s) at Drew.
Clicking the application name in either the Applications Menu or the Search will add it to your CloudPC Desktop. Single-click an application to launch.
|
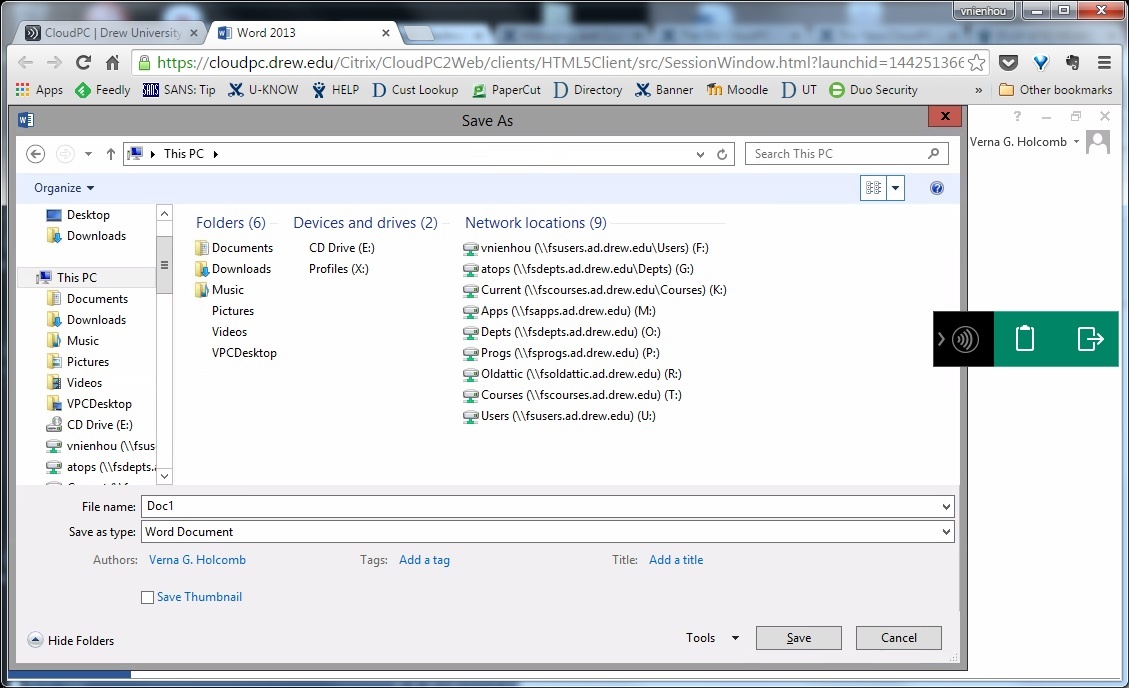
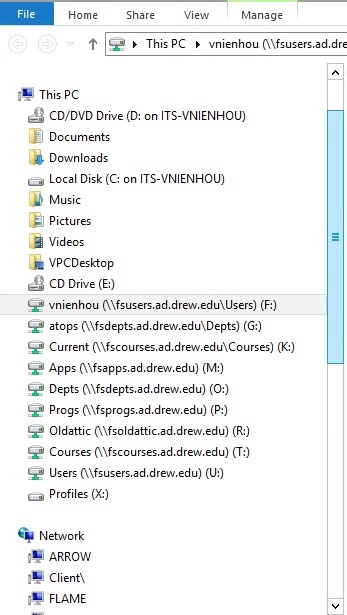
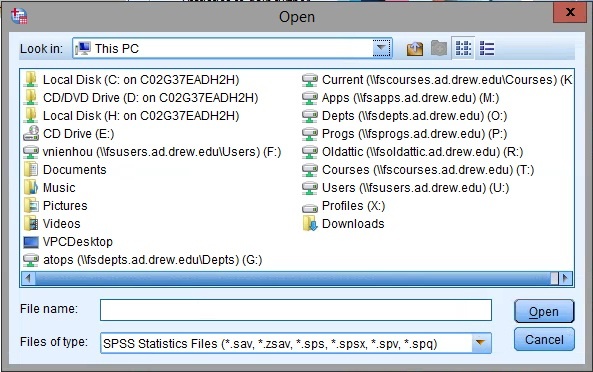
Connecting to Your Local and Network Drives
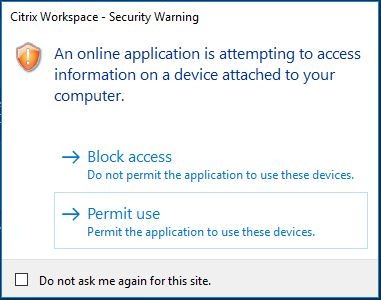
When you connect to a CloudPC session with Citrix Workspace, the options you have to save or open files will look a bit different than those available to you on your local machine.
| Multiexcerpt | |||||||||||||||||||||
|---|---|---|---|---|---|---|---|---|---|---|---|---|---|---|---|---|---|---|---|---|---|
| |||||||||||||||||||||
The first time you try to access your drives, you will be asked if Citrix Workspace has permission to access your files. Windows
Mac
|


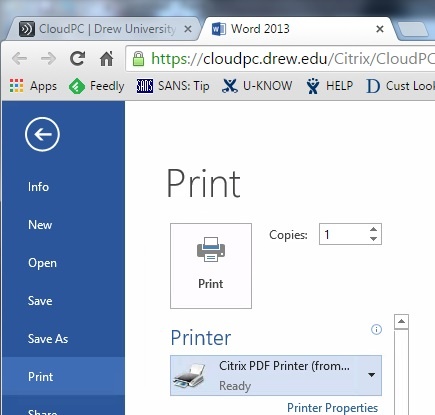
Printing from CloudPC
When you open a CloudPC session using Citrix Workspace, CloudPC automatically creates the printers installed locally. This means you can print from a CloudPC application the same way you are accustomed to printing from any software application installed on your computer.
...
| Expand |
|---|
Devices which do not allow you to install programs like Citrix Workspace, such as a Chromebook, will run CloudPC applications within the browser using the HTML5 client. Much of the functionality is the same, but the presentation will be different (as you will see the application within the browser, rather than in its own seamless window).
You will be able to access your network drives and the virtual PC desktop, but not your local hard drive.
You can print to the Citrix PDF printer (essentially saving as a PDF), but you cannot print to your local printer(s).
If you wish to print something from a CloudPC session you are running in the HTML5 Receiver, and using a different browser is not an option (such as on a Chromebook), we suggest you save what you wish to print as a PDF to your F: drive. You can then open myfiles.drew.edu (instructions for using MyFiles) and print the PDF to your local printer. Reviewed June 5, 2023 |