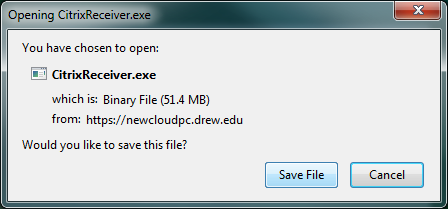
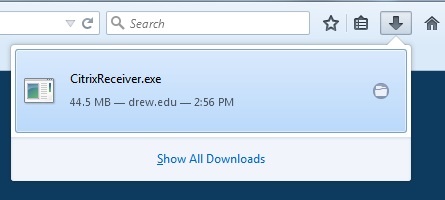
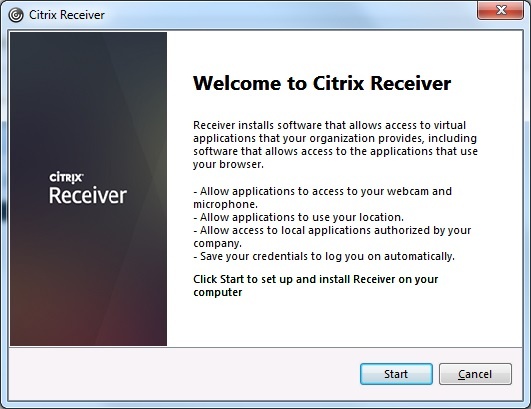
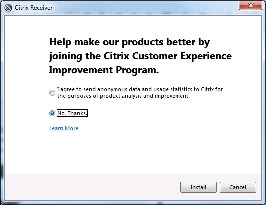
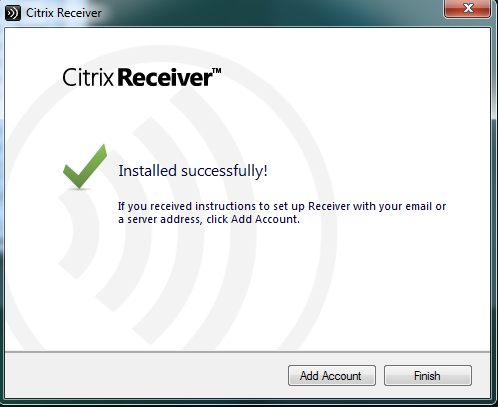
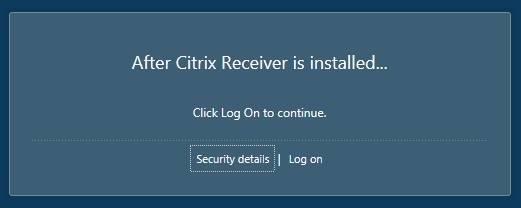
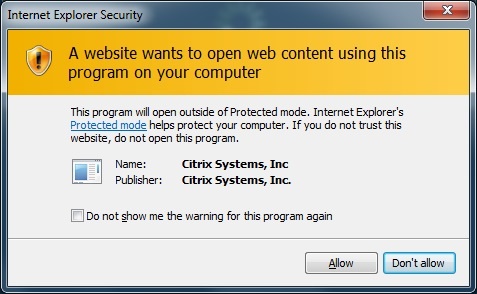
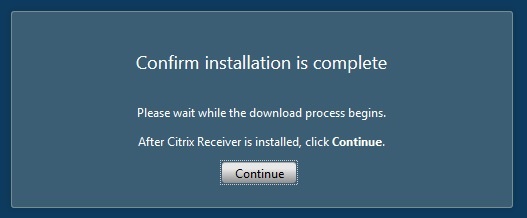
These instructions are in the process of being updated. Please excuse the dust! The Citrix Workspace app is the local client that runs Citrix-hosted applications. It replaces the Citrix Receiver client. Browser note If you have trouble using one browser to launch Citrix applications, please try using a different browser. Citrix Plugin Citrix Storefront (the website where apps are listed) uses a browser plugin to detect the Citrix software. The below screenshots are of Firefox, but all modern browsers will need to allow/unblock this plugin. This is the same for all of our web app installations. If any of the screens below don't appear, check for a blocked plugin in the browser address bar. If apps are opening within the browser, check your version of the Citrix Receiver/Workspace app. The newest version is called Citrix Workspace and is version 1911. In Chrome, please follow these steps. *If the window with the "Launch Application" option does not appear, select "Already installed." If apps are opening within the browser, check your version of the Citrix Receiver/Workspace app. The newest version is called Citrix Workspace and is version 1911. Citrix Receiver for Web Plugin Citrix Storefront (the website where apps are listed) uses a browser plugin to detect the Citrix software. All browsers listed above will need to allow/unblock this plugin. This is the same for all of our web app installations. If any of the screens below don't appear, check for a blocked plugin in the browser address bar. If apps are opening within the browser, check your version of the Citrix Receiver/Workspace app. The newest version is called Citrix Workspace and is version 1912.Step-by-step guide (for PC)


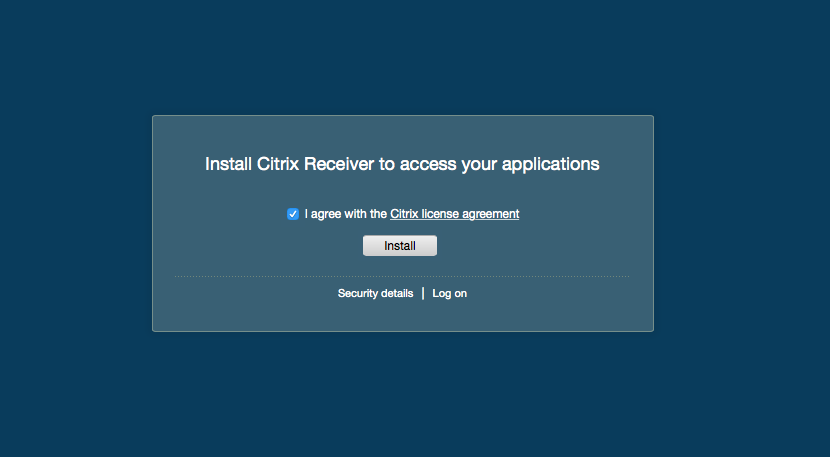
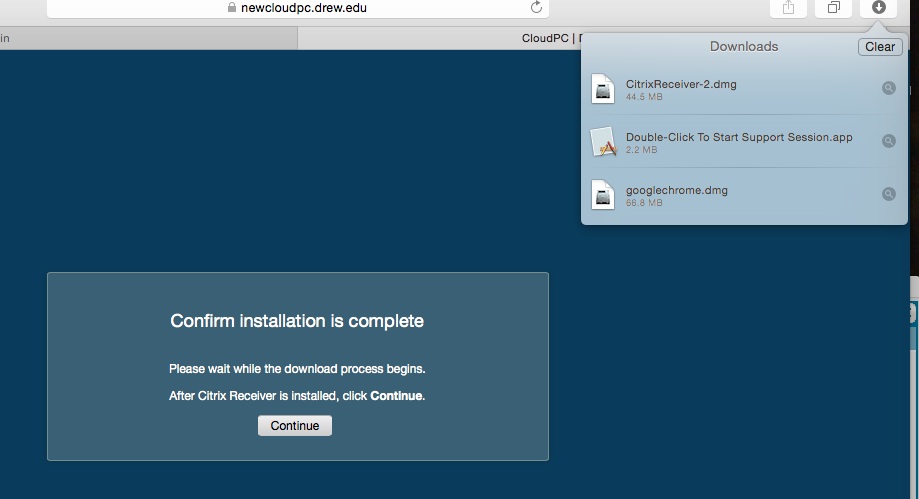
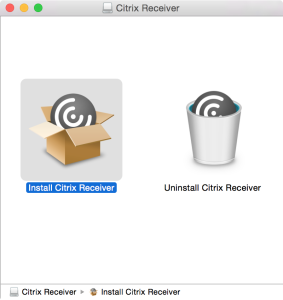
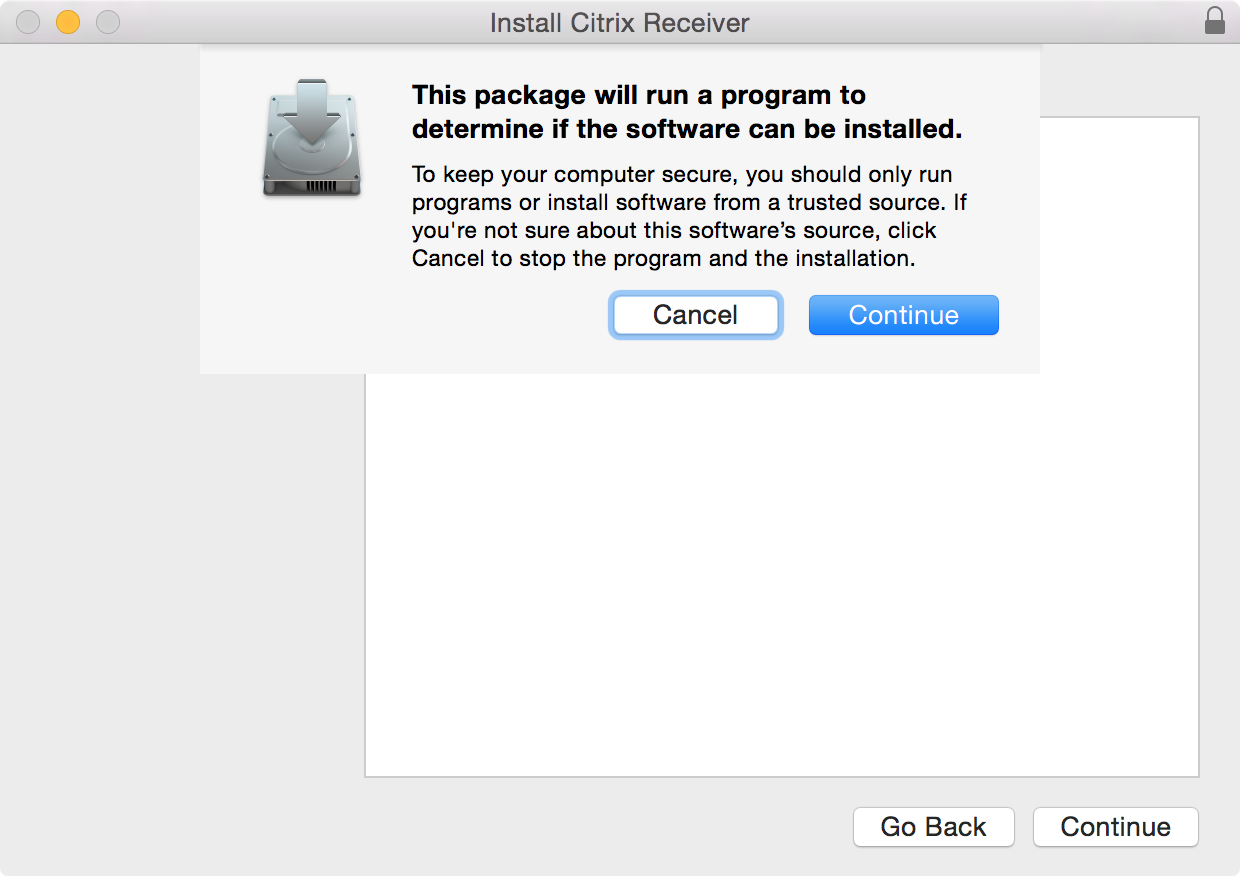
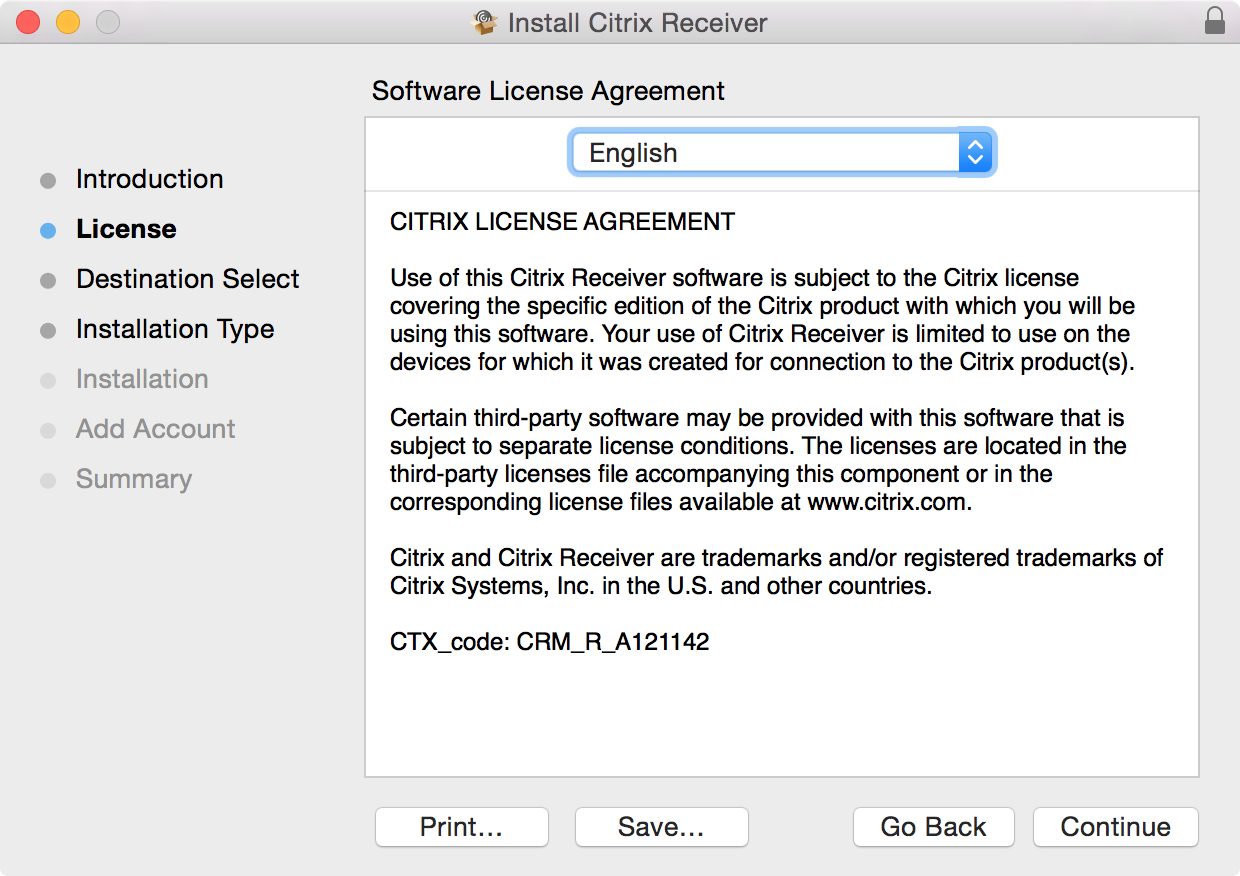
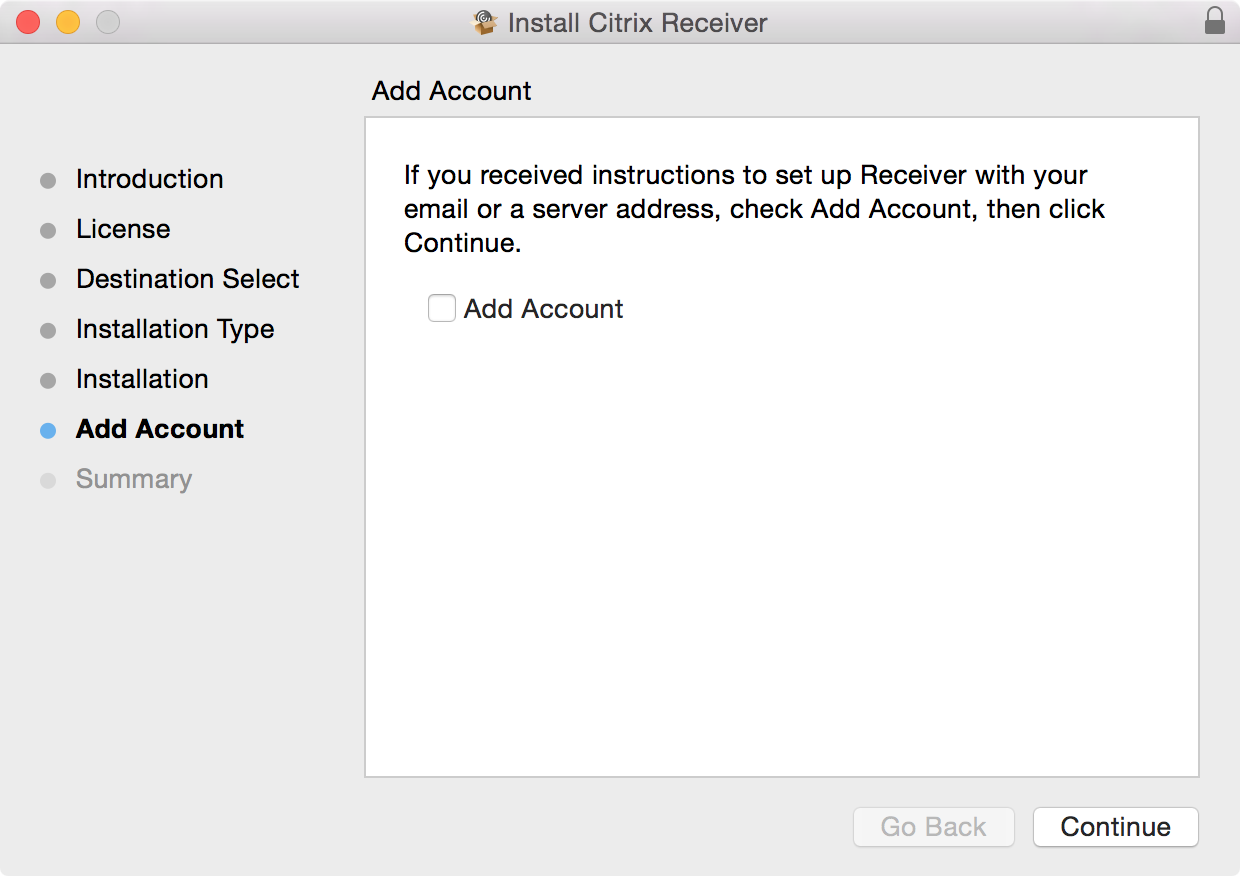
Step by Step Guide (for Mac)
Safari: 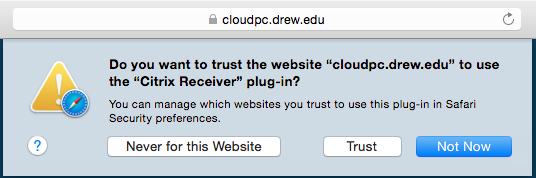
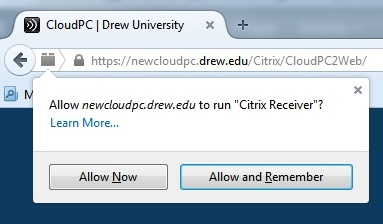
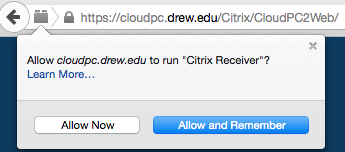
Firefox: 
Using CloudPC
Now that you are set up, take a look at Using CloudPC for more information.
Related articles